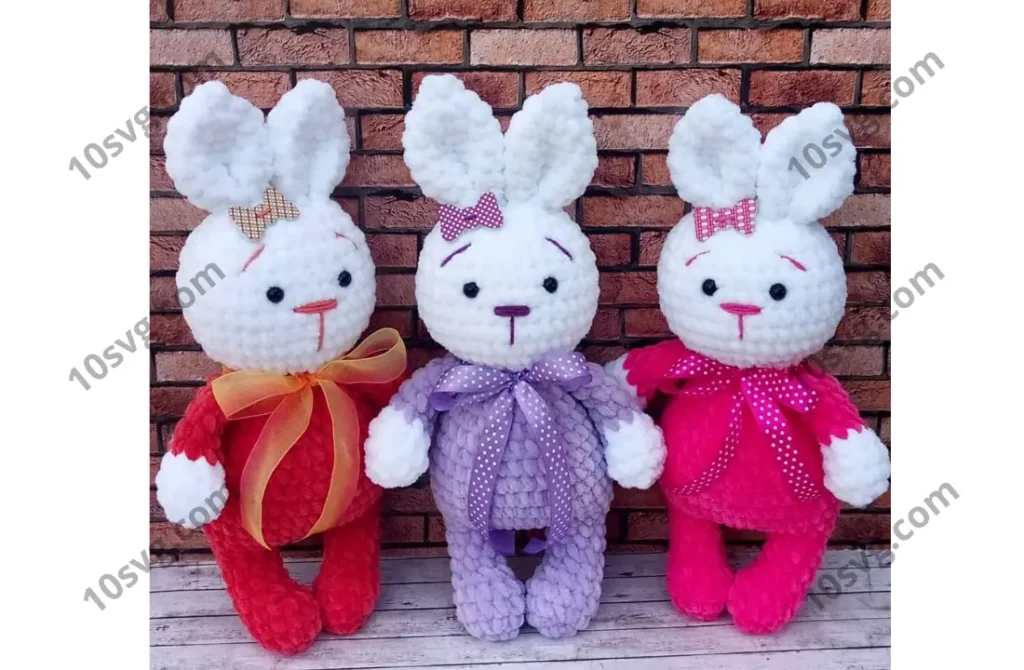
Legs (2 pieces)
- Rnd 1: 6 sc in magic ring (6)
- Rnd 2: 6 increases (12)
- Rnd 3: (3 sc, 1 increase) * 3 (15)
4-5. Rnd 4-5: 15 sc (2 rounds) - Rnd 6: 4 sc, 3 decreases, 5 sc (12)
7-10. Rnd 7-10: 12 sc (4 rounds)
For the left leg:
- Rnd 11: 3 sc (for symmetry)
For the right leg:
- Rnd 11: 9 sc (no color change)
Do not cut the yarn.
Continue crocheting the body:
- Rnd 12: From the right leg, chain 1 and crochet 12 sc along the left leg, increase in the chain, 12 sc along the right leg, increase in the chain (28)
- Rnd 13: 26 sc, 2 increases (30)
14-19. Rnd 14-19: 30 sc (6 rounds) - Rnd 20: (3 sc, 1 decrease) * 6 (24)
- Rnd 21: 24 sc
- Rnd 22: (2 sc, 1 decrease) * 6 (18)
- Rnd 23: 18 sc
Next, crochet the paws:
- Rnd 24: 2 sc, 4 sc with paw, 5 sc, 4 sc with paw, 3 sc (18)
- Rnd 25: 8 sc. Change yarn to the color of the head, and this will be the new beginning of the round.
Head
- Rnd 26: 18 increases (36)
27-31. Rnd 27-31: 36 sc (5 rounds) - Rnd 32: (4 sc, 1 decrease) * 6 (30)
- Rnd 33: 30 sc
- Rnd 34: (3 sc, 1 decrease) * 6 (24)
- Rnd 35: 24 sc
Divide the work into two parts and start crocheting the ears:
- Rnd 36: 12 sc
- Rnd 37: (1 sc, 1 increase) * 6 (18)
38-40. Rnd 38-40: 18 sc (3 rounds) - Rnd 41: (1 sc, 1 decrease) * 6 (12)
- Rnd 42: 6 decreases (6)
- Rnd 43: 3 decreases (3)
Join yarn and crochet the second ear in the same way.
Finishing the Bunny
Once you have finished crocheting all parts, assemble the bunny by stitching the head, body, legs, arms, and ears together. Add fiberfill stuffing as you go along, and your adorable plush bunny is ready to be loved!
You can copy and paste this pattern into your WordPress blog. The structure with headings and subheadings will make it easy to read and follow for your visitors!
Pages: 1 2