Skip to content
10SVG
Menu
Home
Free Crochet Patterns
Recipes
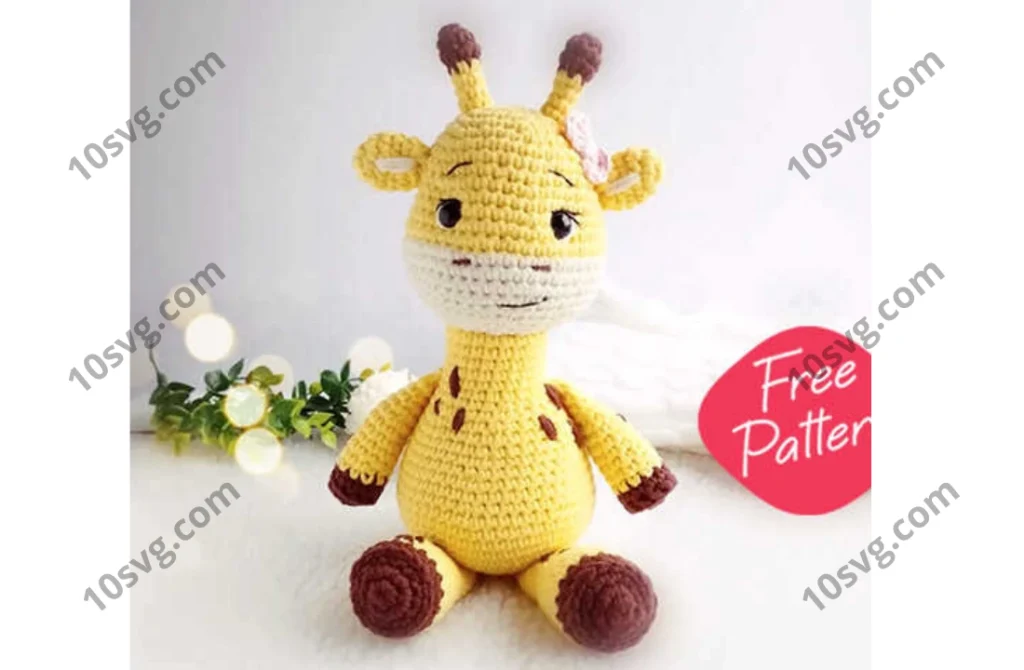
Crochet Giraffe Free Amigurumi Pattern
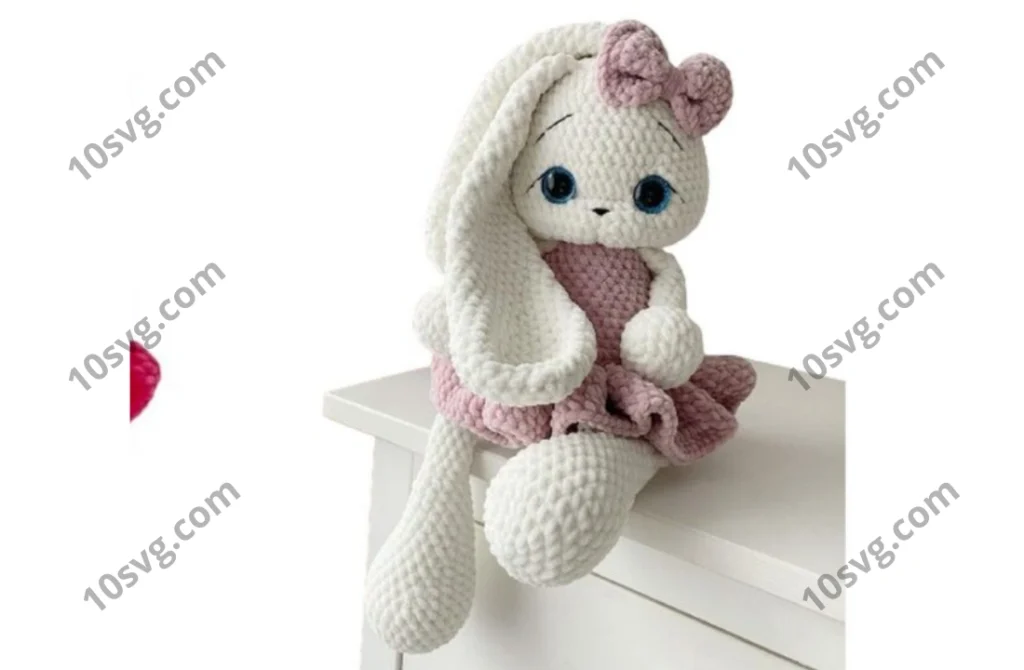
Crochet Velvet Bunny Free Amigurumi Pattern
Crochet Chick Amigurumi Free Pattern
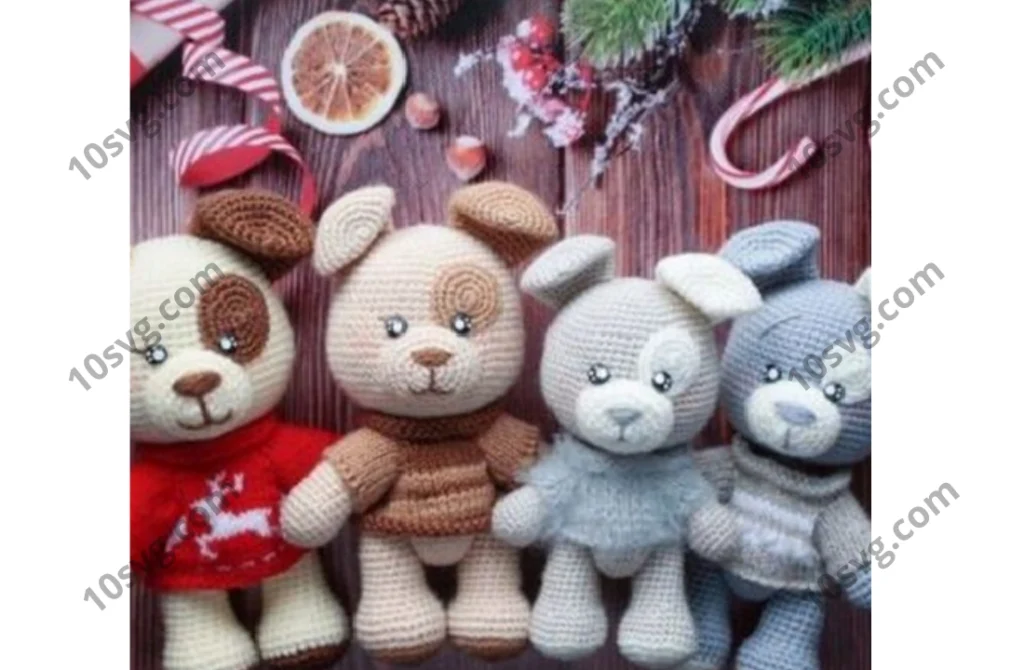
Amigurumi Dogs Free Pattern
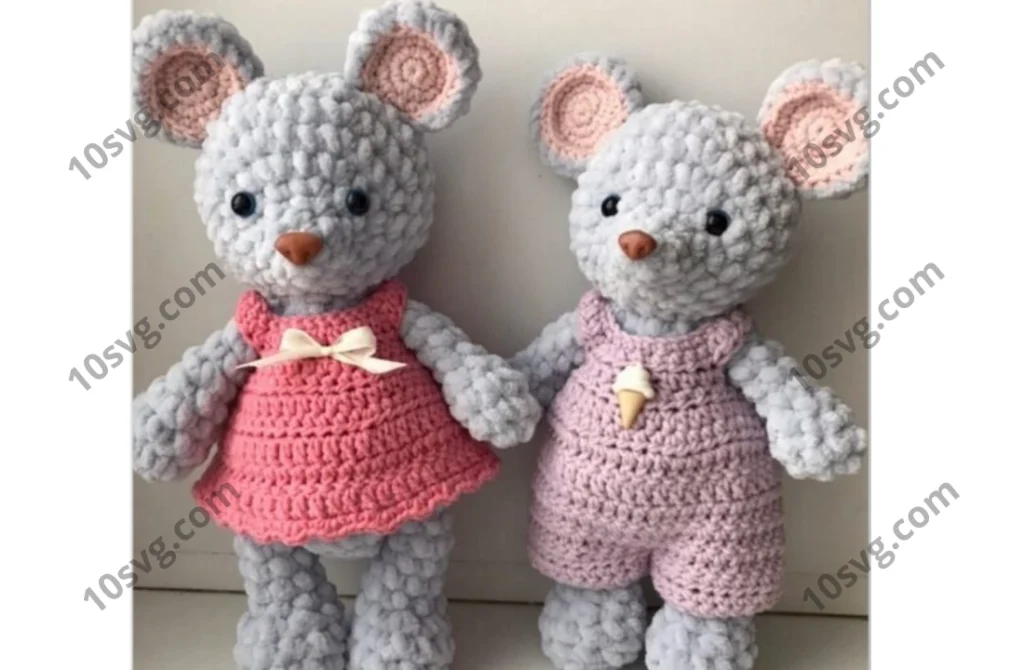
Amigurumi Plush Mouse Free Pattern
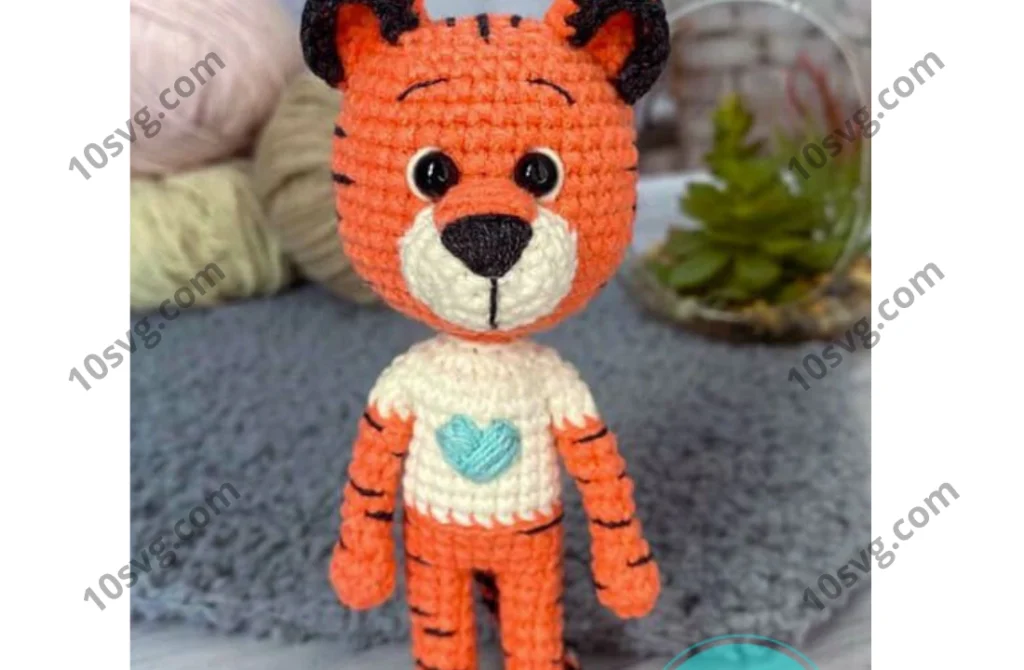
Thomas the Tiger Amigurumi Free PDF Pattern
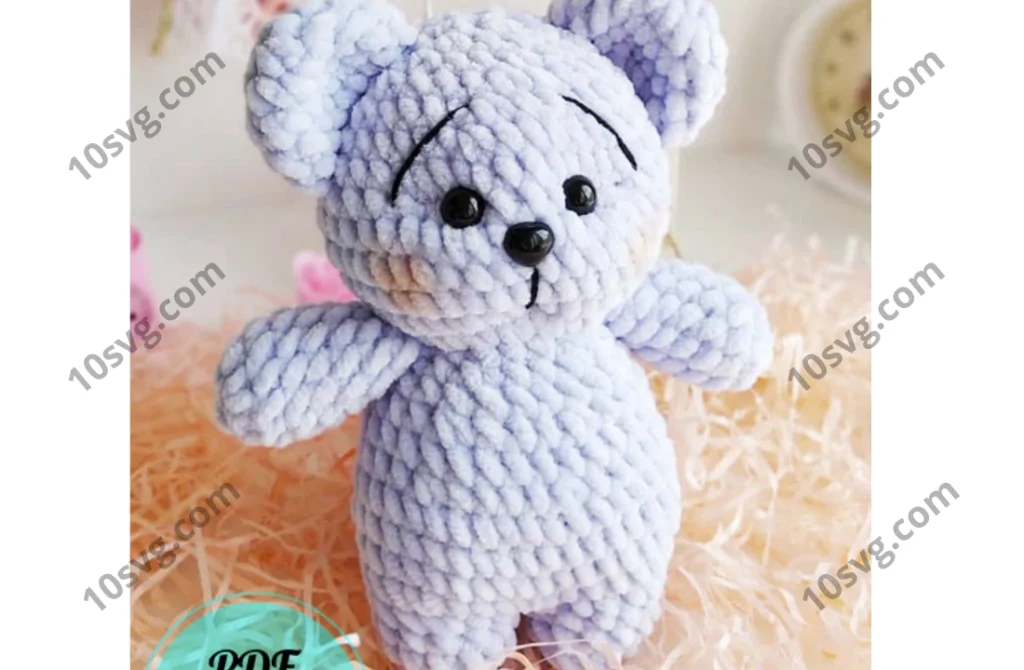
Teddy Bear Sophia Amigurumi Free PDF Pattern
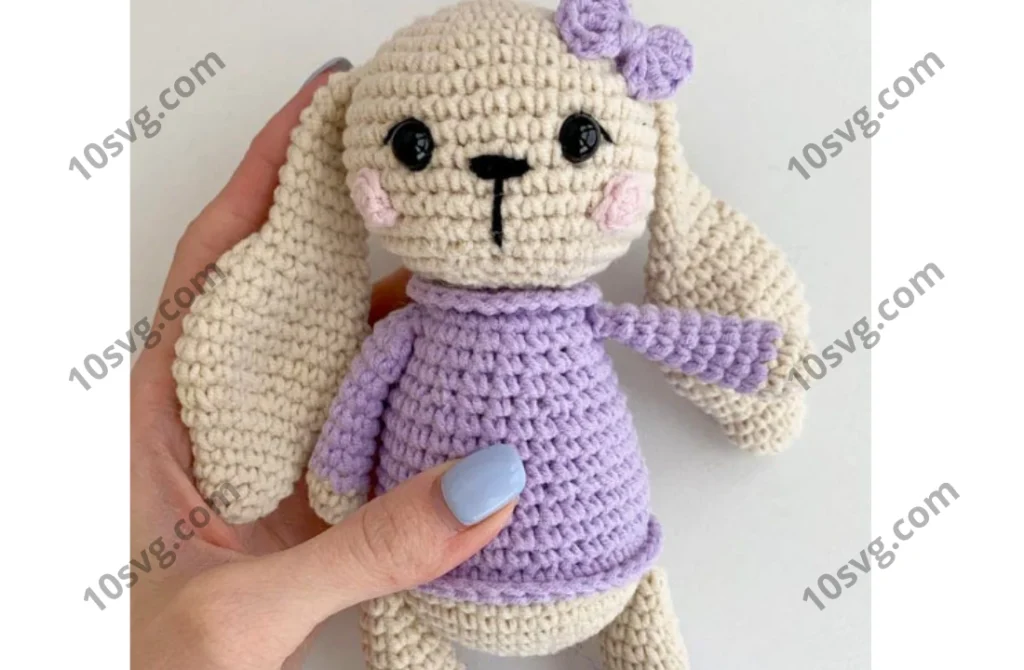
Pink Cheeked Rabbit Amigurumi Free PDF Pattern Tutorial
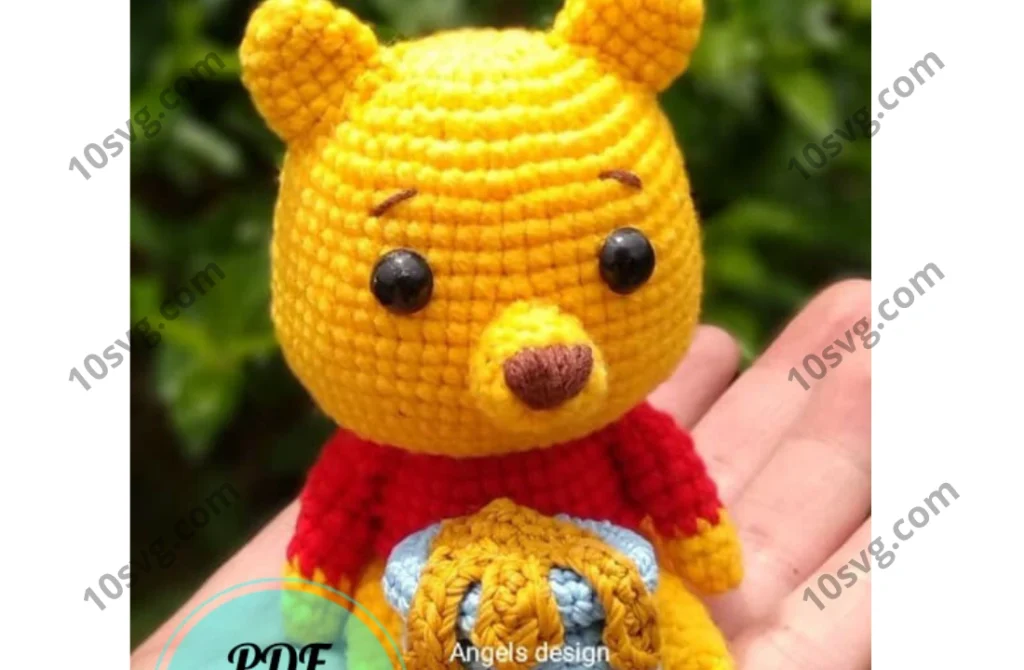
Winnie the Pooh Bear Amigurumi Free Pattern
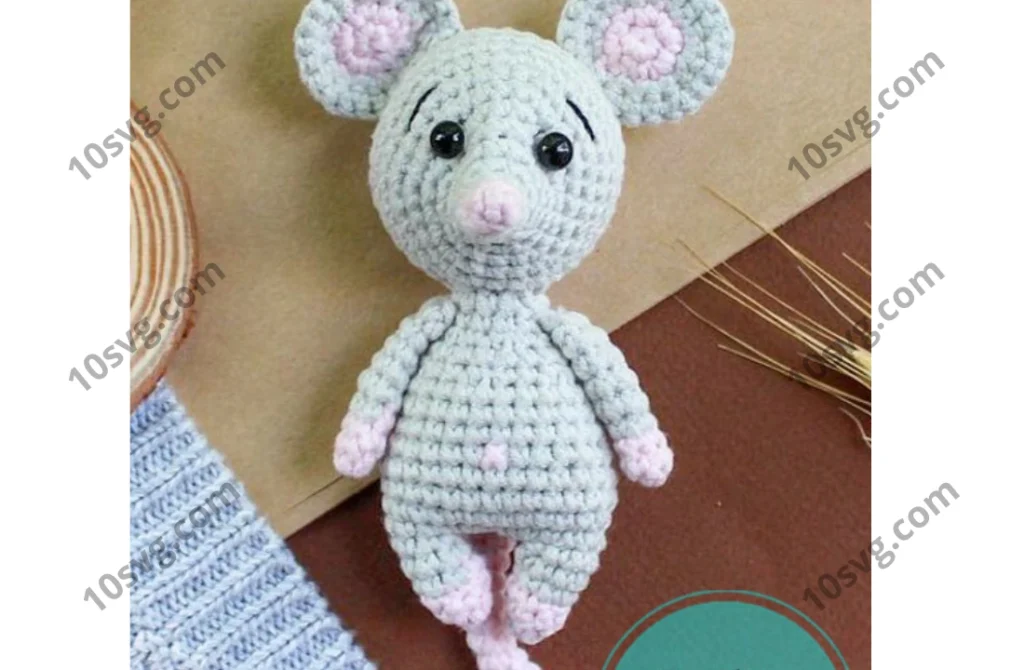
Little Mouse with Pink Ears Amigurumi Free Pattern
Older posts
Page
1
Page
2
…
Page
92
Next
→