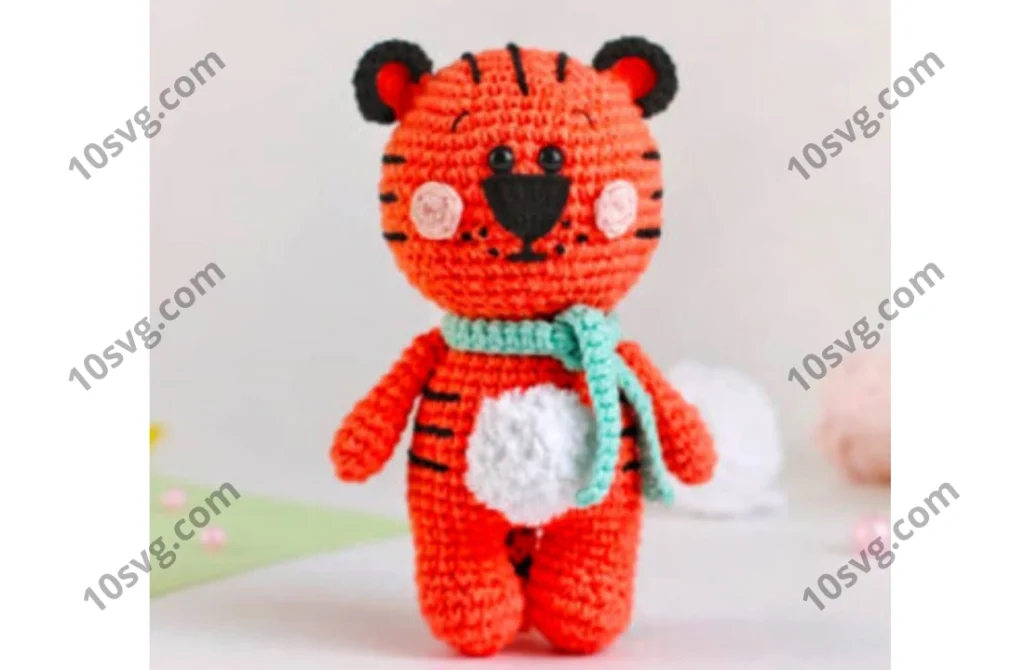
Ears (Make 2)
Start with orange yarn.
- 6 sc in MR (6)
- inc in each stitch (12)
Switch to black yarn:
- 9 sc, sl st (do not crochet the remaining stitches).
F.o., leaving a long tail for sewing.
Cheeks (Make 2)
Use pink yarn.
- 8 sc in MR (8)
F.o., leaving a long tail for sewing.
Legs + Body
Use orange yarn.
Legs:
- 6 sc in MR (6)
- inc in each stitch (12)
- (1 sc, inc) x 6 (18)
- 18 sc (18)
- 8 sc, (1 sc, dec) x 3, 1 sc (15)
- 11 sc, dec, 2 sc (14)
- 14 sc (14)
F.o. the first leg, leaving the yarn attached for the second leg.
Body:
- Join the legs with 3 ch. Crochet around both legs: 14 sc on the first leg, 3 sc in the chain, 14 sc on the second leg, 3 sc on the other side of the chain (34).
- 31 sc, inc, sc, inc (36)
3–4. 36 sc (2 rounds) - 7 sc, dec, 14 sc, dec, 11 sc (34)
- 34 sc (34)
- 7 sc, dec, 12 sc, dec, 11 sc (32)
- 32 sc (32)
- 6 sc, dec, 14 sc, dec, 8 sc (30)
- 30 sc (30)
- 5 sc, dec, 13 sc, dec, 8 sc (28)
- 5 sc, dec, 12 sc, dec, 7 sc (26)
- 5 sc, dec, 11 sc, dec, 6 sc (24)
- (2 sc, dec) x 6 (18)
Add 7 sc for symmetry. F.o. and weave in the ends.
Arms (Make 2)
- 6 sc in MR (6)
- (1 sc, inc) x 3 (9)
3–5. 9 sc (3 rounds) - (1 sc, dec) x 3 (6)
7–10. 6 sc (4 rounds)
Lightly stuff the arms, then close the opening. F.o., leaving a tail for sewing.
Belly
Use white yarn.
- 6 sc in MR (6)
- inc in each stitch (12)
- (1 sc, inc) x 6 (18)
- (2 sc, inc) x 6 (24)
F.o., leaving a long tail for sewing.
Tail
Alternate orange and black yarn.
- 6 sc in MR (6)
2–10. 6 sc (alternate colors every 2 rounds).
F.o., leaving a long tail for sewing.
Scarf
Use green yarn.
- ch 61, starting in the 2nd ch from the hook: 60 sc (60).
F.o. and weave in the ends.
Assembly Instructions
- Sew the ears between rows 6 and 8 of the head.
- Embroider the nose with black thread (3 rows tall, 5 stitches wide).
- Attach the cheeks and embroider details like scratches and French knots near the nose.
- Sew the head to the body.
- Attach the arms between rows 12 and 13 of the body.
- Sew the belly and tail in place.
- Wrap the scarf around the neck for a finishing touch.
Show Off Your Work!
Feel free to tag me @freeamigurumii on Instagram or Facebook. I’d love to see your creations!