Wing
Ch 4, SC, HDC, HDC
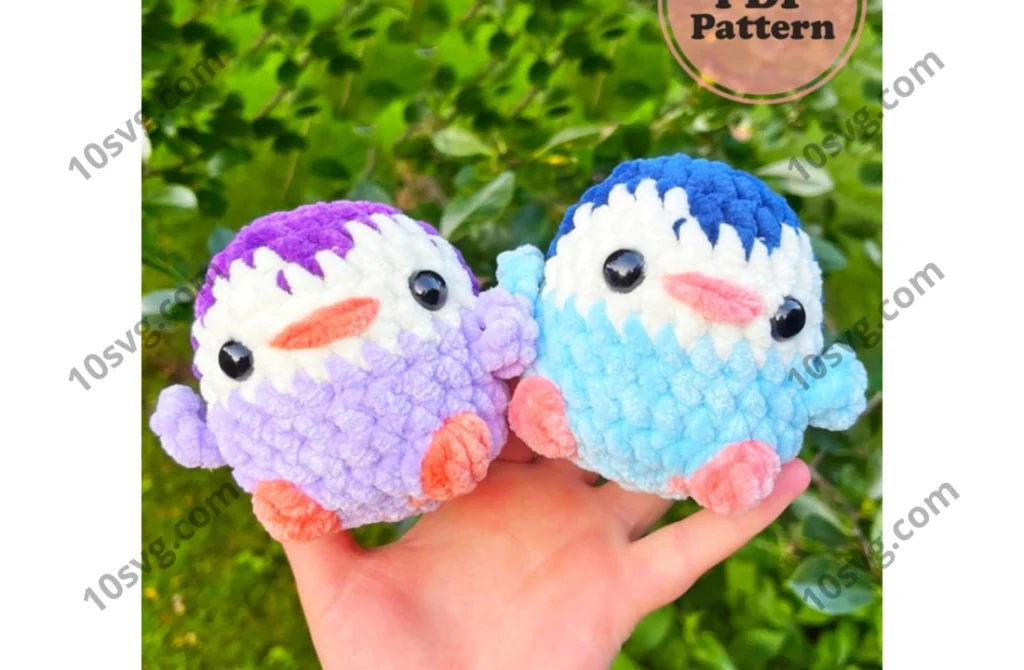
As you can see, we completed the penguin’s wings in a short time. Now it’s time for the penguin’s body. Since there are different color transitions on the toy’s body, you need to follow the instructions you see completely. When you make the right color transitions, you will have a magnificent penguin.
Body
Starting in the color for the head:
R1: 8 SC in a MR (8)
R2: INC X 8 (16)
R3: (SC, INC) X 8 (24)
R4: 7 SC, 3 SC, 3 SC, 3 SC, 8 SC (24)
R5-R7: 6 SC, 11 SC, 7 SC [3 Rounds]
Place safety eyes between R6 and R7, 5 stitches apart.
Switch to the bottom color:
R8: 6 SC, Wing, 11 SC, Wing, 7 SC
R9-R10: 24 SC (24) [2 Rounds]
R9: 8 SC, Bobble, 5 SC, Bobble, 9 SC
R10: DEC X 12 (12)
R11: DEC X 6 (6)
FO, close circle, and weave in ends!
For the beak embroidery, leave one stitch between the eye and the beak on both sides!
That’s it, the crochet penguin is ready! Decorating the toy is now up to you. You can decorate the penguin with any nose and eye type you want.