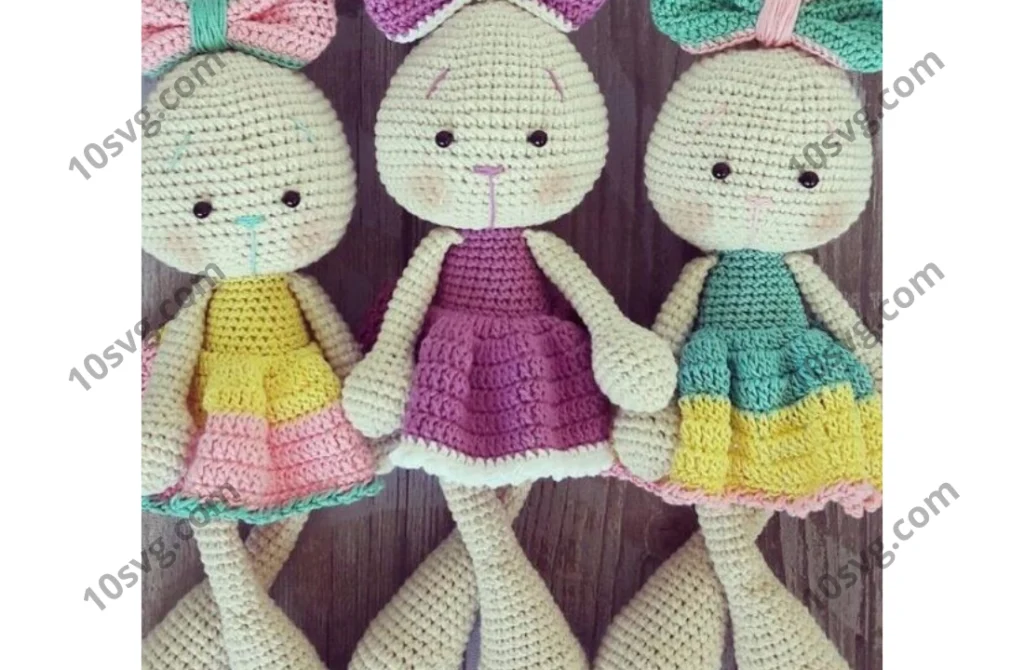
Body
Violet yarn:
- P 1: 6 Sat in KA (6)
- P 2: increase in each loop (12)
- P 3: (1 Sat, pr) * 6 (18)
- P 4: (2 Sat, pr) * 6 (24)
- P 5: (3 Satn, pr) * 6 (30)
- P 6: (4 Sat, pr) * 6 (36)
- P 7-9: 36 Sat (3 rows)
- P 10: (16 Satn, Ub) * 2 (34)
- P 11: (15 Satn, Ub) * 2 (32)
- P 12: per rear wall loops 32 Satn
- P 13: 32 Satn
- P 14: (14 Satn, Ub) * 2 (30)
- P 15: (13 Satn, Ub) * 2 (28)
- P 16-17: 28 Sat (2 rows)
- P 18: (12 Satn, Ub) * 2 (26)
- P 19: (11 Satn, Ub) * 2 (24)
- P 20-21: 24 Sat (2 rows)
- P 22: (10 Satn, Ub) * 2 (22)
- P 23: (9 Sat, UB) * 2 (20)
- P 24: 20 Satn
- P 25: (8 Satn, Ub) * 2 (18)
Fix the thread, fill the part.
Legs (2 details)
White yarn:
- P 1: 6 Sat in KA (6)
- P 2: increase in each loop (12)
- P 3: (1 Sat, pr) * 6 (18)
- P 4: (2 Sat, pr) * 6 (24)
- P 5: 24 Sat
- P 6: (11 Satn, pr) * 2 (26)
- P 7-9: 26 Sat
- P 10: (11 Satn, Ub) * 2 (24)
- P 11: (10 Satn, Ub) * 2 (22)
- P 12: (9 Satn, Ub) * 2 (20)
- P 13: 20 Satn
- P 14: (8 Satn, Ub) * 2 (18)
- P 15: 18 Satn
- P 16: (7 Satn, Ub) * 2 (16)
- P 17: 16 Satn
- P 18: (6 Satn, Ub) * 2 (14)
- P 19: 14 Sat
- P 20: (5 Satn, Ub) * 2 (12)
- P 21: 12 Satn
- P 22: (4 Satn, Ub) * 2 (10)
- P 23-35: 10 Sat (14 rows)
Fix the thread, leave a long end for sewing.
Fill only the lower part of the legs and sew to the body.
Pens (2 details)
White yarn:
- P 1: 6 Sat in KA (6)
- P 2: increase in each loop (12)
- P 3: (1 Sat, pr) * 6 (18)
- P 4-6: 18 Sat (3 rows)
- P 7: (4 Satn, Ub) * 3 (15)
- P 8: (3 Satn, Ub) * 3 (12)
- P 9: (2 Satn, Ub) * 3 (9)
- P 10-19: 9 Sat (10 rows)
Change the color of the dress:
- P 20-27: 9 Sat (8 rows)
Fix the thread, leave a long end for sewing.
Fill only the lower part and sew to the upper row of the body.
Skirt
Violet yarn:
We return to the 12th row of the body, where we knitted the back wall. The 1st row of the skirts will knit loops behind the front walls.
- P 1: Knit on the front wall an increase from STS to each loop (64)
- P 2: increase from CCN to each loop (128)
- P 3: increase from CCN to each loop (256)
- P 4: Sat in each loop (256)
Fix the thread and crop.
Feel free to tag me (@freeamigurumii) in your photos on Instagram or Facebook if you’d like!
All Finished.
Pages: 1 2