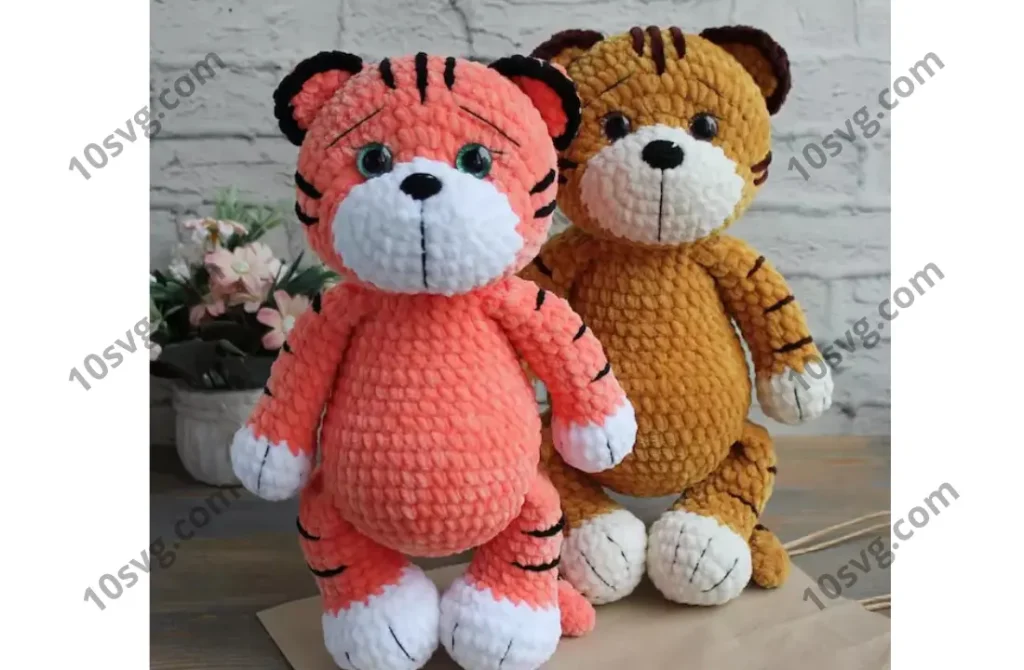
Free Crochet Tiger Amigurumi Masterclass by Alina Yaichnikova @dream_toys164
In this tutorial, you will learn how to crochet a plush tiger cub using a hook. The pattern is designed for any plush yarn, such as Himalaya Dolphin Baby, YarnArt Dolce, or Kamtex Velour. You can also use cotton or semi-cotton yarn for the nose.
Finished Size
The finished tiger cub measures approximately 32-34 cm.
Materials and Tools
- Plush yarn:
- Himalaya Dolphin Baby (330-mustard, 308-milky, 336-brown)
- Cotton yarn for the nose (white and black)
- Thread for embroidery on the face
- Crochet hooks: 1.5 mm and 4 mm
- Safety eyes (16 mm)
- Stuffing for the toy
- Needle for attaching details
- Scissors
You can find all the materials here.
Crochet Abbreviations
- KA – magic ring
- ch – chain stitch
- ss – slip stitch
- sc – single crochet
- inc – increase
- dec – decrease
- (…) x n – repeat n times
Amigurumi Tiger Head Instructions
Step 1: Start the Head
- Color: Milky (308)
- Make 7 chains, then work 5 sc into the second chain from the hook. Work 3 sc into the last stitch. Turn your work: 4 sc, inc (14)
- Inc, 4 sc, inc x 3, 4 sc, inc x 2 (20)
- 1 sc, inc, 4 sc, (1 sc, inc) x 3, 4 sc, (1 sc, inc) x 2 (26)
4-5. 26 sc (2 rows)
- Change color to main color (330):
- (1 sc, inc) x 6, 14 sc (32)
- (4 sc, inc) x 4, (5 sc, inc) x 2 (38)
- 1 sc, inc, (2 sc, inc) x 6, 18 sc (45)
Step 2: Insert Eyes
- Insert safety eyes between rows 6 and 7, 9 sc apart. Secure the eyes with washers.
- (8 sc, inc) x 5 (50)
10-14. 50 sc (5 rows total) - (8 sc, dec) x 5 (45)
- 3 sc, dec, (7 sc, dec) x 4, 4 sc (40)
- (6 sc, dec) x 5 (35)
- 2 sc, dec, (5 sc, dec) x 4, 3 sc (30)
- Stuff the head well, especially the milky-colored part (the face).
- (3 sc, dec) x 6 (24)
- (2 sc, dec) x 6 (18)
- (1 sc, dec) x 6 (12)
- Dec x 6 (6)
- Finish the head: Close the hole by pulling the yarn tight and weave in the ends.
Step 3: Face Shaping
For the face indentation, use a long thread in the color of the body and a needle. Insert the needle at the bottom of the head (where the neck will attach), pull it up near the right eye, grab a loop, and pull it down. Repeat for the left eye, and then tighten both loops together and secure.
Nose Instructions
- Make 5 chains, then work 3 sc into the second chain from the hook. Work 3 sc into the last stitch. Turn your work: 2 sc, inc (10)
- Inc, 2 sc, inc x 3, 2 sc, inc x 2 (16)
- 1 sc, inc, 2 sc, (1 sc, inc) x 3, 2 sc, (1 sc, inc) x 2 (22)
- 22 sc
- Secure and cut the yarn, leaving a long tail for attachment.
Ears (Make 2)
- 6 sc into a magic ring
- Inc x 6 (12)
- (3 sc, inc) x 3 (15)
- 15 sc
- Do not stuff the ears. Work another sc, fold the piece in half, and crochet 7 sc across. Secure and cut the yarn, leaving a long tail for sewing.
- Attach dark brown yarn and work 10 sc along the edge.
Assembling the Head
- Attach the nose between rows 1 and 4 of the face.
- Using black yarn (I used Pekhorka Azhurnaya), embroider the line from the nose.
- With white thread, embroider the smile below the nose.
- Attach the ears between rows 14 and 15 of the head, 8 sc apart.
- Embroider the eyebrows and eyelashes (I used Pekhorka Azhurnaya).
- With brown yarn (336), embroider the stripes on the sides of the face and between the ears.
Pages: 1 2