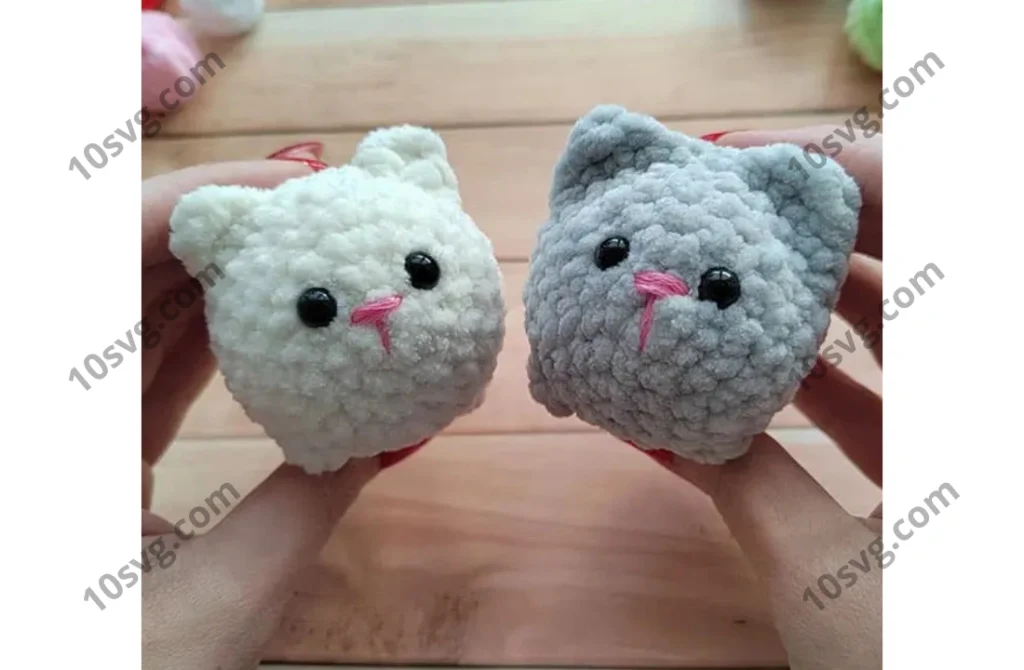
Amigurumi Puffy Kitten Crochet Pattern
I was inspired by a Turkish master’s design of similar kittens. I modified the size to make a keychain-sized kitten, changed the ears, and I’d love to share this pattern with you. This project is quick to make and results in an adorable, fluffy kitten.
1st Round:
- Crochet 6 sc in a magic ring (KA).
2nd Round:
- Increase in each stitch (6 inc = 12 sc).
3rd Round:
- (1 sc, inc) x 6 (18 sc).
4th Round:
- (2 sc, inc) x 6 (24 sc).
5th Round:
- Crochet 24 sc (no increases or decreases).
6th Round:
- 8 sc, dc, tr, dc + dc in one stitch for the left ear, dc, 2 sc, dc, tr, dc + dc in one stitch for the right ear, dc, 8 sc = 24 sc.
7th Round:
- 9 sc, 1 sc in the back loop, 4 sc, 1 sc in the back loop, 6 sc, puff stitch (right leg), 2 sc = 24 sc.
8th Round:
- 2 sc, puff stitch (left leg), 21 sc = 24 sc.
9th-10th Rounds:
- Crochet 24 sc (2 rounds).
11th Round:
- 23 sc, puff stitch = 24 sc.
12th Round:
- 4 sc, puff stitch, 19 sc = 24 sc.
13th Round:
- Crochet 24 sc.
Attaching Eyes
Place the safety eyes between the 2nd and 3rd rounds, about one visible increase apart from each other.
14th Round:
- (2 sc, dec) x 6 (18 sc).
Filling the Toy
Now, stuff the kitten with the toy filler.
15th Round:
- (1 sc, dec) x 4, ch 7, 6 sc back along the chain, (1 sc, dec) x 2 = 12 sc.
At this point, you should have reached the middle of the kitten’s back. If you find that it’s leaning too far to the left or right, adjust the positioning accordingly.
16th Round:
- 6 dec (decreases).
Close the remaining stitches with a needle and hide the tail inside the body of the kitten. Embroider the nose.
Your Crocheted Kitten is Ready!
Congratulations! You’ve successfully completed your fluffy crocheted kitten. If you post your finished kitten on social media, be sure to tag the author @alwaysknit to share your creation!