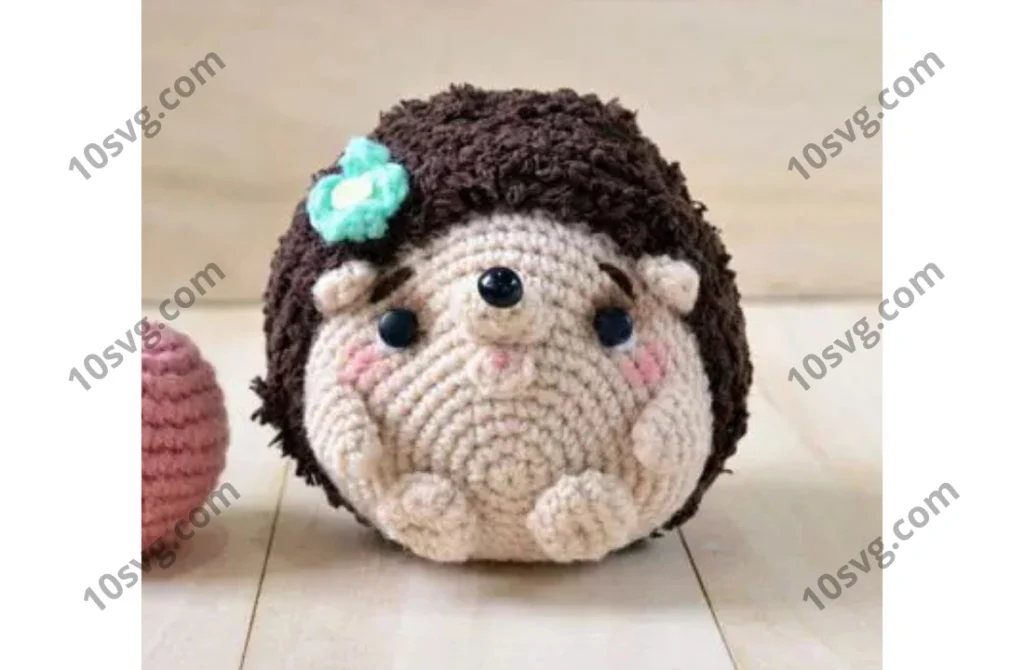
Free Crochet Masterclass: Little Hedgehog
Author: Unknown
In this tutorial, you will learn how to crochet a small hedgehog with a flower using amigurumi techniques. The toy is worked in the round, starting from the belly and ending with the spines on the back. You will need smooth and textured yarns for this project.
Materials and Tools:
- Yarn
- Crochet hook
- Toy safety eyes
- Toy nose
- Toy stuffing
- Dry pastel or blush
- Needle for attaching details
- Scissors
Everything needed for this project can be purchased here.
Abbreviations:
- KA – Magic ring
- ch – Chain stitch
- sl st – Slip stitch
- sc – Single crochet
- dc3 – Double crochet with three yarn overs
- inc – Increase
- dec – Decrease
- (…) x n – Repeat n times
Body:
Start crocheting with beige yarn and a 2.3 mm crochet hook. Work in the round, using a spiral technique.
- 6 sc in KA
- Inc in each stitch of the previous round – 12 sc
- (Inc, sc) – 18 sc
- (Inc, 2 sc) – 24 sc
- (Inc, 3 sc) – 30 sc
- (Inc, 4 sc) – 36 sc
- (Inc, 5 sc) – 42 sc
- (Inc, 6 sc) – 48 sc
- (Inc, 7 sc) – 54 sc
- (Inc, 8 sc) – 60 sc
11-14. 60 sc in the round
Switch to brown yarn and continue crocheting with a 2.5 mm crochet hook.
15-20. 60 sc in the round
- (Dec, 8 sc) – 54 sc
- (Dec, 7 sc) – 48 sc
- (Dec, 6 sc) – 42 sc
- (Dec, 5 sc) – 36 sc
- (Dec, 4 sc) – 30 sc
- (Dec, 3 sc) – 24 sc
- (Dec, 2 sc) – 18 sc
At this point, you should have a half-beige, half-brown ball with a hole in the brown section. Fill the toy with granules through the hole, ensuring the beige side is facing you and the hole is centered on the back. This will help the toy “stand” with its beige belly facing forward. Then, fill the hedgehog’s body with soft stuffing (holofiber or synthetic filler). As you fill, begin shaping it into a triangle.