Legs (Lower)
- Chain 6.
- Starting in the second chain from the hook: inc, 3 sc, 2 inc in one stitch, turn, 3 sc, inc. (14)
- Work 14 sc in a circle, turning the work for ease of stitching.
- 12 sc, dec. (13)
- dec, dec, 8 sc, 1 st shifts into the next decrease. (11)
- Make 1 dec, ensuring it’s centered on the foot. (10)
Continue working around for 45 stitches. Stuff, insert the disc and splint, close the opening, sew, and fluff the leg.
Legs (Upper)
- MR or chain 2, work 6 sc in the ring.
- Work 45 sc in a circle, stuff, insert the splint, close, sew, and fluff the leg.
Ears
- MR or chain 2, work 4 sc in the ring.
- (1 sc, inc) x 2. (6)
- (1 sc, inc) x 3. (9)
- (2 sc, inc) x 3. (12)
For larger ears, add 2 more rounds of 12 sc each.
Tail
- MR or chain 2, work 4 sc in the ring.
- (1 sc, inc) x 2. (6)
3-4. Work 6 sc. - (2 sc, inc) x 2. (8)
6-8. Work 8 sc. - (1 sc, inc) x 4. (12)
10-11. Work 12 sc.
Sew the tail in place.
Body
Work bottom-up:
- MR or chain 2, work 6 sc.
- 6 inc. (12)
- (1 sc, inc) x 6. (18)
- (2 sc, inc) x 6. (24)
5-9. Work 24 sc in each round.
At this stage, attach the legs to the body if using splints.
- Reverse the work direction: *ch 1, *(2 sc, dec)* x 6, 1 sc*. (19)
- Turn, ch 1, work 19 sc.
- Turn, ch 1, (1 sc, dec) x 6, 1 sc. (13)
13-14. Work 13 sc in each round. - (dec) x 6, 1 sc. (7)
Sew the opening closed, leaving a long tail for final assembly.
Assembly and Final Touches
- Attach the head and limbs using splints or sew them in place.
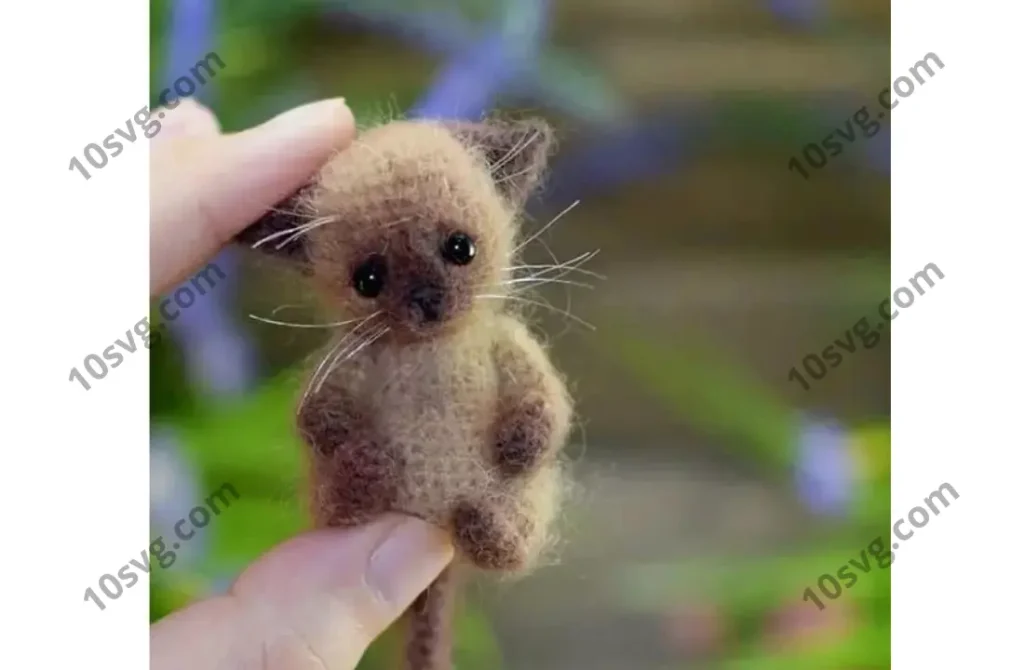
- Use pastels for shading the face and body.
- Brush the toy to give it a fluffy appearance.
- Embroider the nose, mouth, and claws with black thread.
- Attach fishing line for whiskers.
Your adorable crocheted kitten is ready! Share your creations on social media and tag the designer, Irina Chernyavskaya.
Pages: 1 2