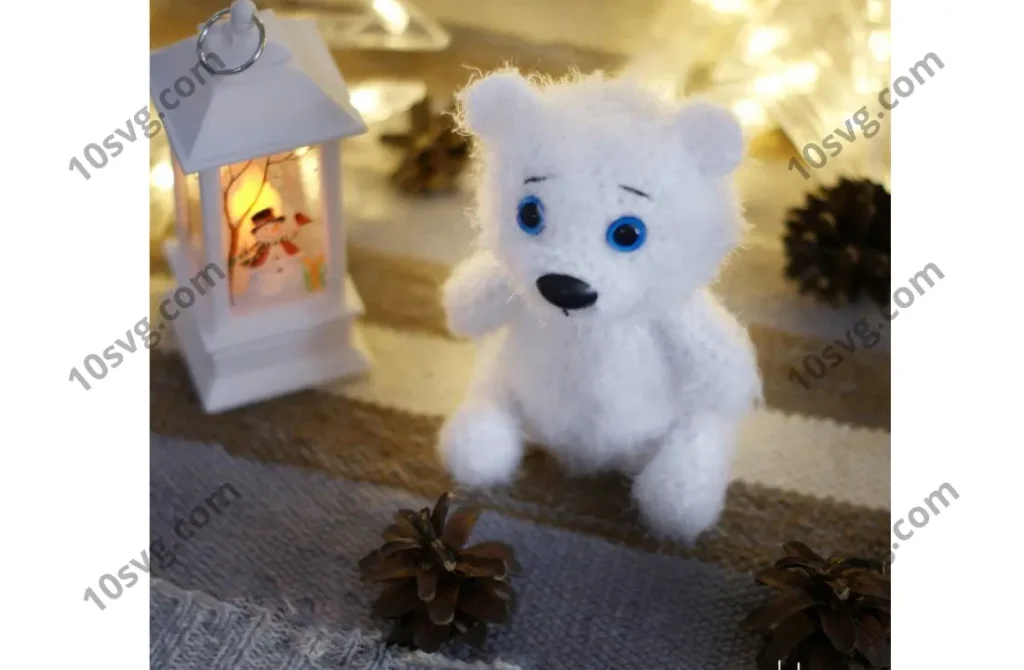
Body
- 6 sc in KA (6)
- 6 inc (12)
- (1 sc, inc) x 6 times (18)
- (2 sc, inc) x 6 times (24)
- (3 sc, inc) x 6 times (30)
- (4 sc, inc) x 6 times (36)
7-15. 36 sc (9 rows) - (4 sc, inc) x 6 times (30)
17-19. 30 sc (3 rows) - (3 sc, inc) x 6 times (24)
21-22. 24 sc (2 rows) - (2 sc, inc) x 6 times (18)
Legs (Make 2)
- Chain 6. Work in both sides of the chain to form an oval.
- In the second ch from the hook: 3 sc in the same stitch, 3 sc, 3 sc in the same stitch, turn: 3 sc (12)
- 3 inc, 9 sc (15)
4-5. 15 sc (2 rows) - 3 dec, 9 sc (12)
- 2 dec, 8 sc (10)
8-12. 10 sc (5 rows) - 5 dec (5 sc)
- Stuff the legs and sew up the hole, leaving a thread for attaching.
Arms (Make 2)
- 6 sc in KA (6)
- 6 inc (12)
3-4. 12 sc (2 rows) - 1 dec, 10 sc (11)
- 1 dec, 9 sc (10)
- 1 dec, 8 sc (9)
8-10. 9 sc (3 rows)
- Stuff the arms and sew up the hole, leaving a thread for attaching.
Ears (Make 2)
- 6 sc in KA (do not join the ring)
- Make a ch, turn, and work in the opposite direction: 6 inc (12)
Face (Muzzle)
- Chain 6. Work in both sides of the chain to form an oval.
- In the second ch from the hook: 3 sc in the same stitch, 3 sc, 3 sc in the same stitch, turn: 3 sc (12)
- (3 inc, 3 sc) x 2 times (18)
- 18 sc (18)
Assembly
- Attach the Nose: Fix the plastic nose to the muzzle and sew it onto the head.
- Insert the Eyes: Insert the safety eyes and sew the head to the body.
- Embroider the Face: Use black iris yarn to embroider the eyebrows and muzzle. Make small indentations around the eyes for a more expressive look.
- Attach the Limbs: Attach the arms and legs using thread connections. Sew the ears to the head.
- Final Fluffing: Use a fur comb to fluff the bear, especially around the eyes, and trim if necessary to keep the fur neat.
Now you have your very own fluffy teddy bear! Perfect for gifting or adding to your collection of adorable amigurumi creatures.
Pages: 1 2