Assembly
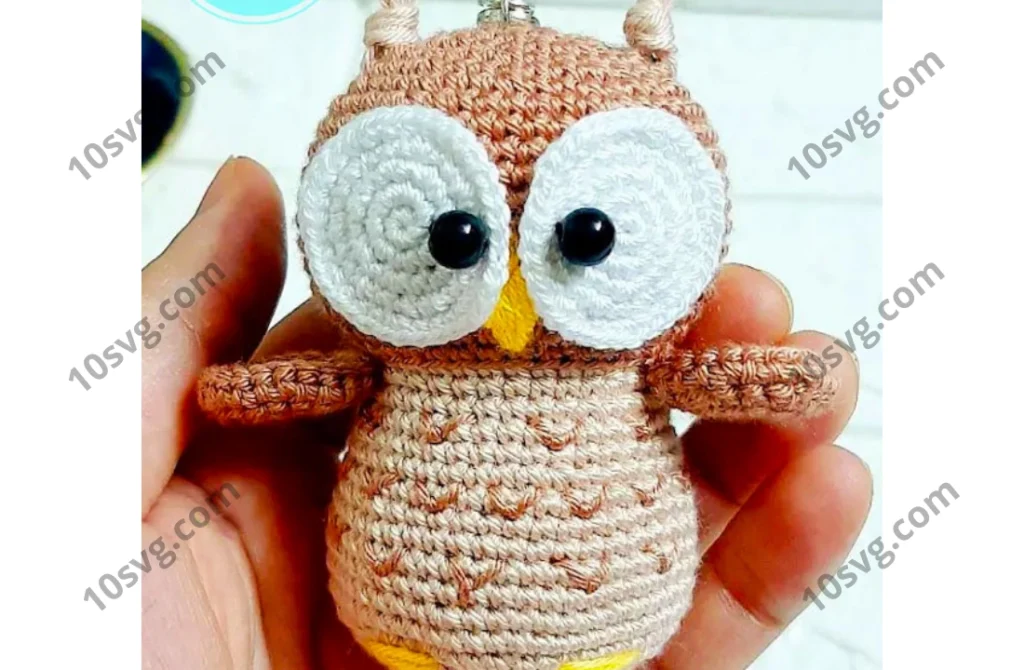
- Attach the eyes to the head. Position them symmetrically on the owl’s face.
- Attach the wings to either side of the body.
- Sew the body to the head.
- Embroider the beak with a small amount of yarn (you can use orange or yellow).
- Use black or dark brown yarn to embroider the pupils of the eyes if not using safety eyes.
- Attach the legs slightly below the body, and sew them on.
- If you used safety eyes, you can now add the pupils to the eyes as well.
Finishing Touches
- Once you’ve attached all parts and sewn everything securely, make sure to hide all loose ends.
- You can slightly shape the owl by adding a little more stuffing if needed to achieve the desired form.
- Give the owl some character by shaping the wings, body, or face by adjusting with a few light stitches or by tightening certain parts.
Optional:
You can also add embellishments like little patches of darker yarn for the spots on the owl’s body or a small scarf for a cozy look!
This simple yet charming owl is perfect for beginners and will surely bring a cute touch to any winter collection. Enjoy crafting!
Pages: 1 2