Wings (Yarn A, Make 2)
| Round | Stitches |
|---|---|
| 1 | Sc 6 into a magic loop (6) |
| 2 | [Sc 1, inc] 3x (9) |
| 3 | [Sc 2, inc] 3x (12) |
| 4 | [Sc 3, inc] 3x (15) |
| 5 | [Sc 4, inc] 3x (18) |
| 6–9 | Sc 18 (4 rnds) |
| 10 | [Sc 4, dec] 3x (15) |
| 11 | [Sc 3, dec] 3x (12) |
| 12 | Dec 6 (6) |
Cheeks (Yarn C, Make 2)
- Sc 6 into a magic loop (6)
- Inc 6, slst on the 1st st (12)
Beak (Yarn B)
- Ch 10, start on the 2nd stitch from the hook (10)
- Follow the pattern to create the shape, fold in half, and sew the edges together.
Legs (Yarn B, Make 2)
| Round | Stitches |
|---|---|
| 1 | Sc 6 into a magic loop (6) |
| 2 | Inc 6 (12) |
| 3 | [Sc 1, Bobble stitch] 3x, sc 6 (12) |
| 4 | Sc 12 |
| 5 | Dec 6 (6) |
Tail (Yarn B)
- [Ch 6, slst on the 1st ch] 3x (18).
Bowtie (Yarn C and D)
- Make two pieces: one small (30 chs) and one large (36 chs).
- Follow the instructions for 4 rounds to complete each piece.
Assembling the Duck
- Head and Body: Sew the head to the body securely.
- Wings: Attach the wings symmetrically on the sides of the body.
- Beak and Cheeks: Sew the beak and cheeks onto the face.
- Eyes: Attach the safety eyes between rounds 13 and 14.
- Legs and Tail: Sew the legs to the bottom of the body and attach the tail at the back.
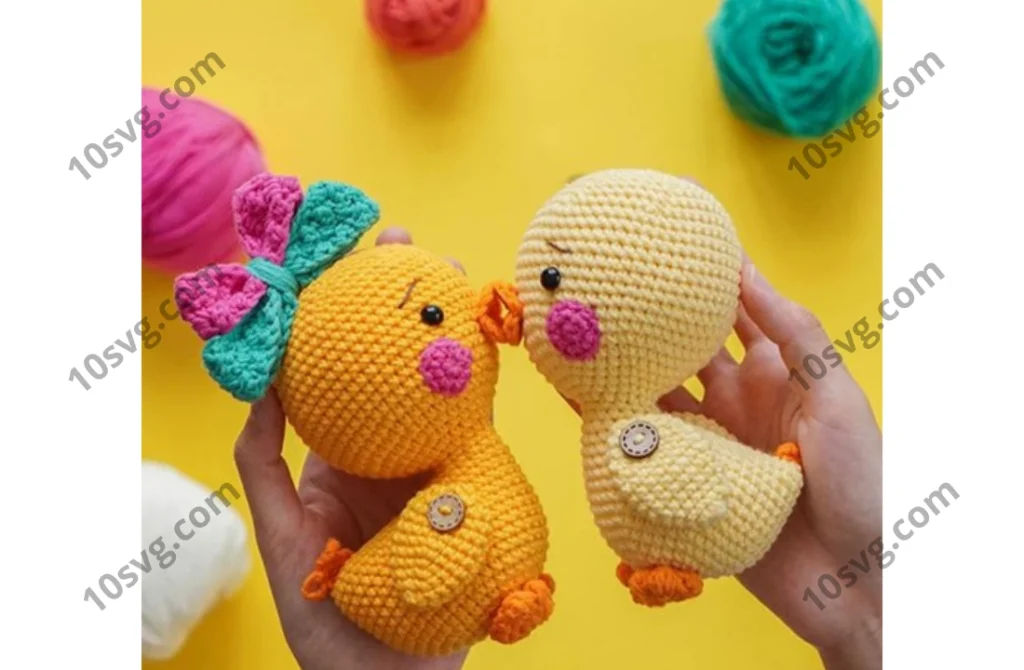
- Bowtie: Combine the two bowtie pieces and attach them to the front of the neck.
All Finished!
Your adorable amigurumi duck is complete! Feel free to share your finished creation with me on Instagram or Facebook by tagging @freeamigurumii. I can’t wait to see your versions!
Happy crocheting!
Does this format work for you? Let me know if you’d like any adjustments!
Pages: 1 2

