Tail
- Round 1: 6 sc in KA. Join the 6th sc with a slip stitch to the 1st sc.
Ears (2 pieces)
- Round 1: 6 sc in KA (6)
- Round 2: (inc, 2 sc) *2 times (8)
- Round 3: 1 sc, inc, 3 sc, inc, 2 sc (10)
- Round 4: 2 sc, inc, 4 sc, inc, 2 sc (12)
- Round 5: 3 sc, inc, 5 sc, inc, 2 sc (14)
- Round 6: 4 sc, inc, 6 sc, inc, 2 sc (16)
- Round 7: 16 sc (16)
- Round 8: 4 sc, dec, 6 sc, dec, 2 sc (14)
- Round 9: 3 sc, dec, 5 sc, dec, 2 sc (12)
- Round 10: 2 sc, dec, 4 sc, dec, 2 sc (10)
- Round 11: 1 sc, dec, 3 sc, dec, 2 sc (8)
- Round 12: dec, 2 sc, dec, 2 sc (6)
- Tighten the last loop and cut the yarn.
Do not stuff the ears!
Face (Muzzle)
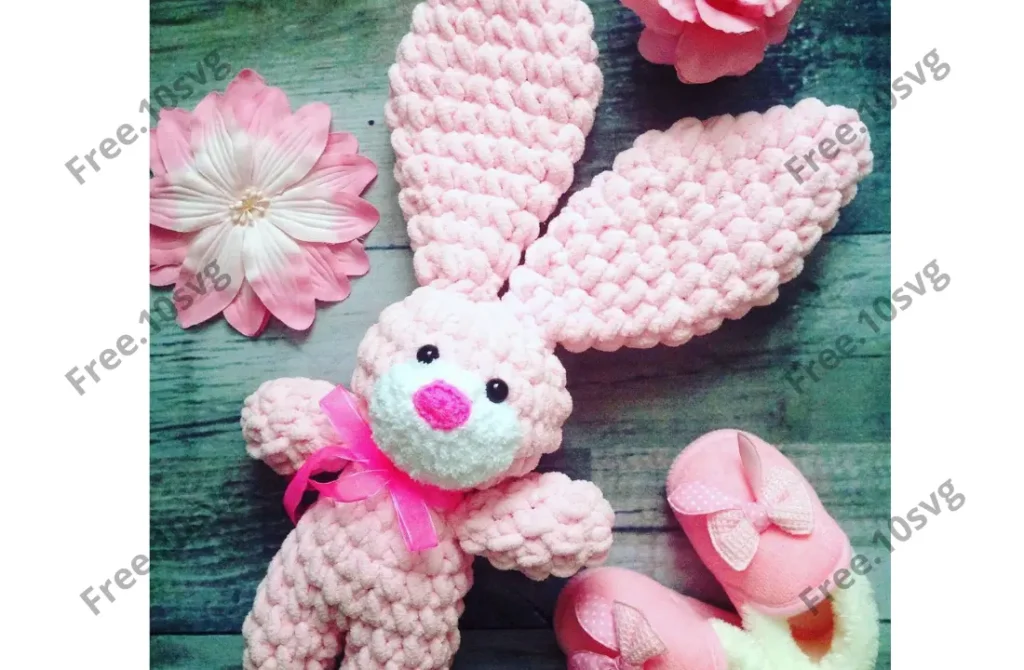
For the face, crochet either an oval or a circle using white yarn, depending on which shape you prefer.
You can attach a plastic nose, an insertable one with a stem, or create a nose by crocheting a small circle with pink yarn or embroidering it. Alternatively, cut a circle from felt and sew it on.
Assembly
- Stuff the arms with Hollofiber and sew them onto the body.
- Attach the tail and ears.
- Sew the muzzle to the head, and then attach the face (eyes and nose).
- Attach black buttons for the eyes or cut circles from dark felt and sew them on.
- Tie a satin ribbon around the neck.
Your Zefirka Bunny is ready!
Tips for Adjusting the Size:
- To make a larger bunny, increase the number of stitches on the legs to make the body wider and longer (you will need to crochet more rounds before starting the decreases).
- Increase the number of stitches for the head, starting with 8-9 stitches. For the ears, increase until round 8-9, then start decreasing every other row.
- If you decide to make a larger bunny, you’ll likely need 3 skeins of yarn.
Attribution
If you publish your Zefirka Bunny on social media or elsewhere, please credit the author, Natalia (@plush_toys_poly).
Feel free to share this with your followers and enjoy crocheting your own bunny!
Pages: 1 2