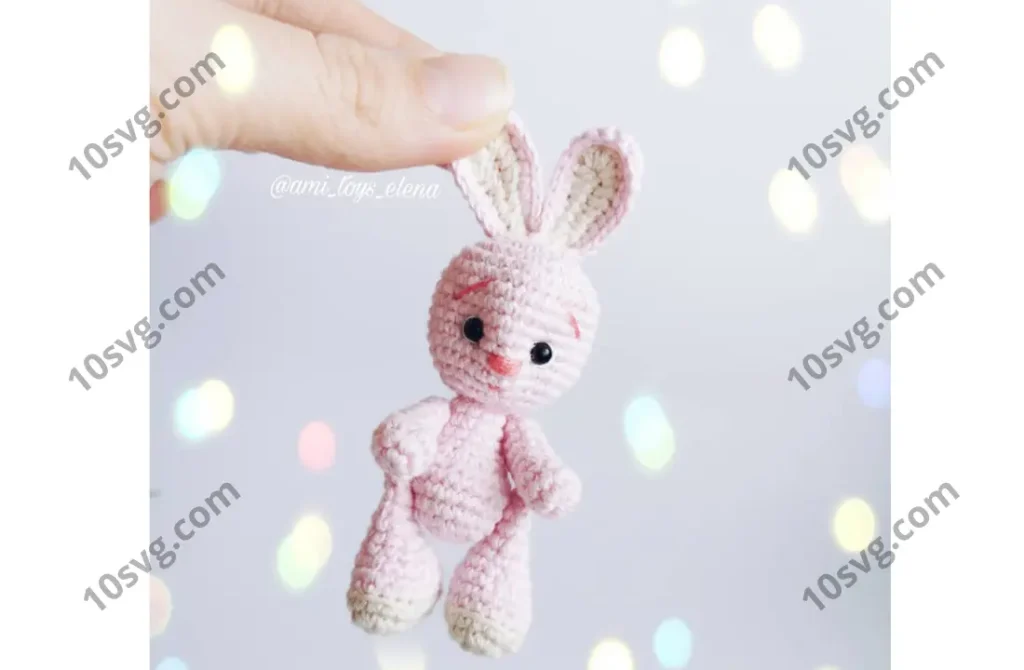
Ears (Make 2)
With Beige Yarn:
- Ch 10
- Rnd 1: Starting from the 2nd ch from hook, 5 sc, 3 htr, 6 sl st in the last ch, turn, then on the other side of the chain: 3 htr, 5 sc, sl st (23)
With Pink Yarn:
- Rnd 2: 23 sc
- Fasten off.
Lower Legs (Make 2)
With Beige Yarn:
- Ch 7
- Rnd 1: Starting from the 2nd ch from hook, 5 sc, 3 sc in the same stitch, turn, then on the other side: 4 sc, inc (14)
- Rnd 2: inc, 4 sc, 3 inc, 4 sc, 2 inc (20)
- Rnd 3: 20 sc
With Pink Yarn: - Rnd 4: 20 sc in the back loops only
- Rnd 5: 20 sc
- Rnd 6: 3 sc, (dec, 1 sc) x3, 8 sc (17)
- Rnd 7: (dec, 1 sc) x6 (11)
- Rnd 8-9: 11 sc (2 rounds)
- Stuff lightly.
- Rnd 10: dec, 3 sc, dec, 4 sc (9)
- Rnd 11: 9 sc
- Pull the remaining stitches tight and fasten off, hiding the yarn end.
Upper Legs (Make 2)
- Rnd 1: 6 sc in KA (6)
- Rnd 2: inc x6 (12)
- Rnd 3: 12 sc
- Rnd 4: 2 dec, 8 sc (10)
- Rnd 5-9: 10 sc (5 rounds)
- Stuff lightly.
- Rnd 10: 5 dec (5)
- Tighten the remaining stitches and fasten off, hiding the yarn end.
Tail
- Rnd 1: 6 sc in KA (6)
- Rnd 2: inc x6 (12)
- Rnd 3: 12 sc
- Rnd 4: 6 dec (6)
- Fasten off and sew the tail onto the body.
Assembly
- Attach the Ears to the head using the yarn tail.
- Embroider the Nose and eyebrows using black embroidery thread.
- Sew the Lower Legs, Upper Legs, and Tail to the body.
- Secure all parts and make sure the bunny is properly stuffed and securely sewn.
Your tiny amigurumi bunny is now complete and ready for play or display!
Pages: 1 2