Paws (Make 4) (with beige yarn):
- R 1: 6 sc in a magic circle (6)
- R 2: (inc) * 6 (12)
- R 3: (1 sc, inc) * 6 (18)
- Do not stuff the paws.
- Fold the paw flat and sc through both sides across 9 stitches.
- F.o.
Belly (with beige yarn):
- R 1: 6 sc in a magic circle (6)
- R 2: (inc) * 6 (12)
- R 3: (1 sc, inc) * 6 (18)
- In this row, crochet the paws onto the belly by crocheting 2 sc of each paw together with 2 sc of the body. Alternatively, you can sew the paws to the belly later.
- R 4: (2 sc, inc) * 6 (24)
- R 5: (3 sc, inc) * 6 (30)
- F.o.
Shell (with blue yarn):
- R 1: 6 sc in a magic circle (6)
- R 2: (inc) * 6 (12)
- R 3: (1 sc, inc) * 6 (18)
- R 4: (2 sc, inc) * 6 (24)
- R 5: (3 sc, inc) * 6 (30)
- R 6: 30 sc
- Do not cut the yarn!
Assembly:
- Attach the Belly to the Shell:
- Place the belly and the shell together with the wrong sides facing each other (i.e., the inside of the shell facing the inside of the belly).
- Crochet 30 sc through both parts, using the blue yarn, to join them together. Add stuffing just before closing.
- Sew the Head to the Body:
- Attach the head to the top of the body and sew it securely in place.
Finishing:
- Weave in any loose ends using the tapestry needle.
- You can gently adjust the position of the safety eyes and add a little more stuffing to ensure the turtle is as squishy as you like.
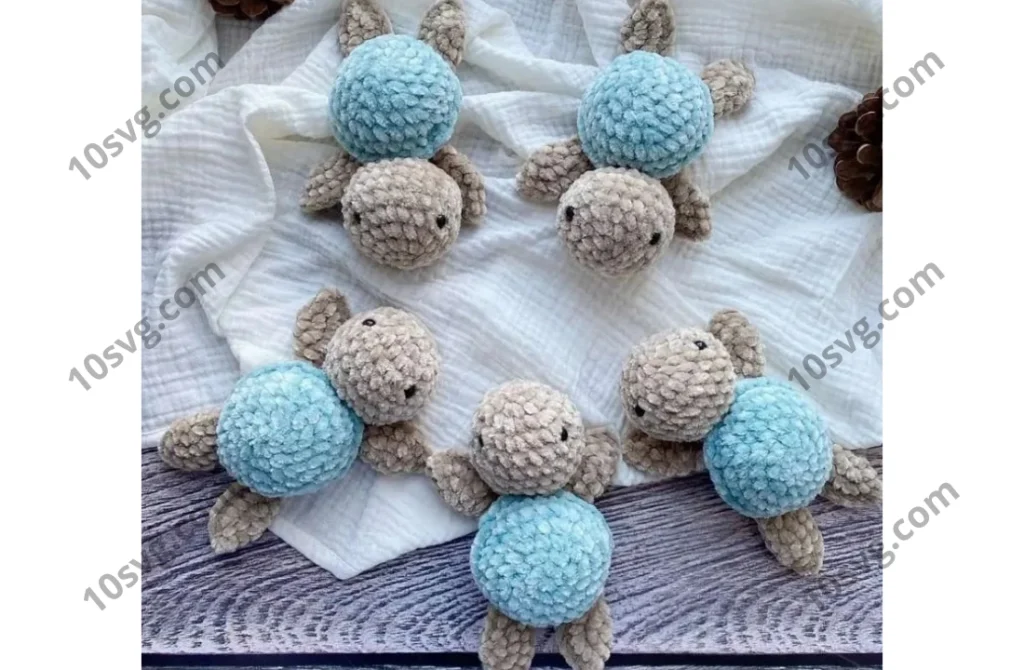
- Once everything is assembled, your adorable plush turtle is ready for cuddling and playtime!
We hope you enjoy making this little turtle! It’s a wonderful crochet project for both beginners and experienced crocheters, and it’s sure to be a hit with anyone who loves soft, plush toys.
Happy crocheting! 🐢💕