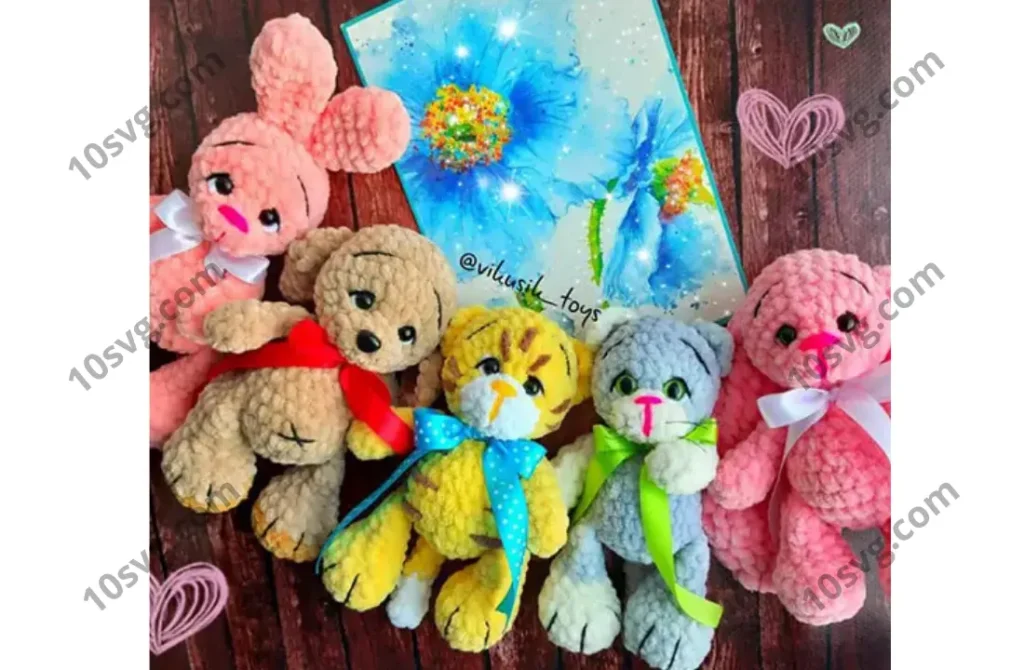
Free Masterclass: How to Crochet a Plush Tiger Cub Robbie and His Friends
by Victoria Kravchenko (@vikusik_toys)
In this free masterclass, you can learn to crochet plush little animals: a tiger cub, a kitten, a puppy, and two bunnies with different ears. The paws, body, and head are all crocheted in the same way for each animal, with only small details like ears, tails, and facial features differentiating them. You can also decorate the little creatures with satin ribbon bows.
- Finished size: About 17 cm
- Yarn needed: Approximately 35 grams
Materials and Tools
- Plush yarn: Himalaya Dolphin Baby or YarnArt Dolce
- Embroidery floss for facial features and detail stitching
- Crochet hooks: 3.5 mm and 4 mm
- Toy safety eyes (8 mm)
- Toy safety nose (10×11 mm for the puppy)
- Toy filler
- Sewing pins
- Ribbon
- Sewing needle for attaching details
- Scissors
Common Abbreviations
- KA – Magic ring (adjustable ring)
- ss – Slip stitch
- ch – Chain stitch
- sc – Single crochet
- dc – Double crochet
- hdc – Half double crochet
- inc – Increase (2 stitches in one stitch)
- dec – Decrease (two stitches together)
- (…) x n – Repeat n times
Crocheting the Tiger Cub Robbie and His Friends: Step-by-Step Instructions
Head
For the tiger cub or kitten, if you want to highlight the muzzle, crochet the first 3 rounds with white yarn. After that, switch to the main color.
- Round 1: 6 sc in a magic ring (6)
- Round 2: Increase in each stitch (12)
- Round 3: 12 sc (12)
- Round 4: Change color – (1 sc, inc) x 6 (18)
- Round 5: (1 sc, inc) x 9 (27)
At rounds 4-5, insert safety eyes 8 mm apart, approximately 4 sc apart.
6-9. Rounds 6-9: 27 sc (4 rounds)
- Round 10: (3 sc, dec, 4 sc, dec) x 2, 3 sc, dec (22)
- Stuff lightly as you go.
- Round 11: 1 sc, (2 sc, dec) x 5, 1 sc (17)
- Round 12: (1 sc, dec) x 5, 2 sc (12)
- Round 13: 6 dec (6)
Close the round. Secure the yarn end and hide it. Shape the muzzle by gently pulling on the nose.
Muzzle Shaping and Embroidery
Muzzle Shaping:
Using a strong thread, thread the needle down from the 5th round of the head. Pass through the outer corner of one eye, then go back through the inner corner of the same eye, bringing the needle down and across to the opposite side of the head, near the tail. Repeat for the other eye, creating a slight indentation that gives the effect of a “smiling” face.
Embroidery:
- Using white yarn, embroider the whites of the eyes.
- With black yarn, add eyelashes. Use pins to place them in a way that creates a cute, sleepy expression.
- Eyebrows: Embroider them to your taste. I placed mine over the eyes, between the 6th and 7th rows, and a bit above, between rows 7-8. A 3 sc-wide brow works well. The distance between the brows is 3 sc.