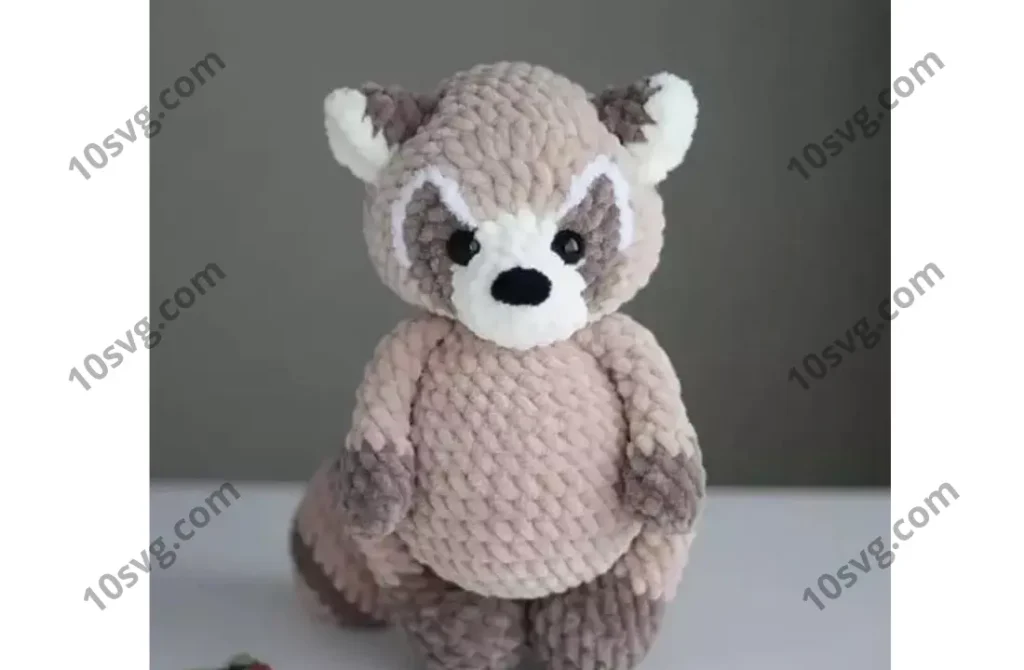
Body
Work with beige yarn.
- 6 sc in a magic ring (6)
- 6 inc (12)
- (1 sc, inc) x 6 (18)
- (2 sc, inc) x 6 (24)
- (3 sc, inc) x 6 (30)
- (4 sc, inc) x 6 (36)
7-10. 36 sc (36) - 5 sc, 6 sc together with the first leg, 14 sc, 6 sc together with the second leg, 2 sc, 3 sc together with the tail (36)
- 2 sc together with the tail, 34 sc (36)
- (4 sc, dec) x 6 (30)
- 30 sc (30)
- (3 sc, dec) x 6 (24)
- 24 sc (24)
- (2 sc, dec) x 6 (18)
- 3 sc, 3 sc together with the first arm, 6 sc, 3 sc together with the second arm, 3 sc (18)
Stuff as you go. Secure the yarn and cut off the excess. Attach the legs with the inner side of the yarn facing each other.
Ears (2 parts)
We will crochet in rows. Start with a chain of 2 ch, and begin crocheting in the second ch from the hook.
- 3 sc (3)
- 3 inc (6)
- (1 sc, inc) x 3 (9)
Switch to milk yarn. - (2 sc, inc) x 3 (12)
Fold the piece in half and join the 4th row to the 3rd row with slip stitches. The front side of the 4th row should be on the outside.
Head
We will crochet with three colors: beige, dark beige, and milk.
- Regular weight – beige yarn
- Bold weight – dark beige yarn
- Italicized – milk yarn
Start crocheting with the milk yarn for the snout.
- 5 sc (5)
- 5 inc (10)
- (1 sc, inc) x 5 (15)
- 15 sc (15)
- 2 sc, 3 inc, 10 sc (18)
- 1 sc, inc, dc in the next stitch, inc, 3 inc, inc, dc in the next stitch, inc, 1 sc, 7 sc (27)
- 5 sc, 2 inc, (dc, dc in the same stitch), 4 dc, (dc, dc in the same stitch), 2 inc, 5 sc, 7 sc (37)
- (5 sc, inc) x 5, 7 sc (42)
- 42 sc (42)
After completing 9 rows, insert the eyes and crochet the white markings on the snout, leaving a gap of 4 stitches from the milk color.
10-14. 42 sc (42)
- (5 sc, dec) x 6 (36)
- (4 sc, dec) x 6 (30)
- (3 sc, inc) x 6 (24)
Start stuffing the head as you crochet. - (2 sc, dec) x 6 (18)
- (1 sc, dec) x 6 (12)
- 6 dec (6)
Attaching the Ears and Nose
Attach the ears between rounds 11 and 12, spacing them 8 stitches apart. The nose should be embroidered between rounds 1 and 2 with 6-7 stitches.
Shaping the Ears
- Insert a needle from the bottom of the head, between rounds 10 and 11, 1 stitch to the side of the center.
- Bring the needle out between rounds 11 and 12 on the outer side of the ear.
- Insert the needle between rounds 12 and 13 from the inner side of the ear (thread passes behind the ear).
- Pull the thread tight to form the desired depth, tie a knot, and hide the thread inside the head.
Repeat the process for the second ear.
Final Assembly
Sew the head to the body securely.
Your plush raccoon is now complete! Enjoy your adorable creation!
Color Variations
You can experiment with different color schemes for your raccoon. Use your creativity to make a unique version of this plush toy!
Feel free to copy and paste this directly into your WordPress blog!