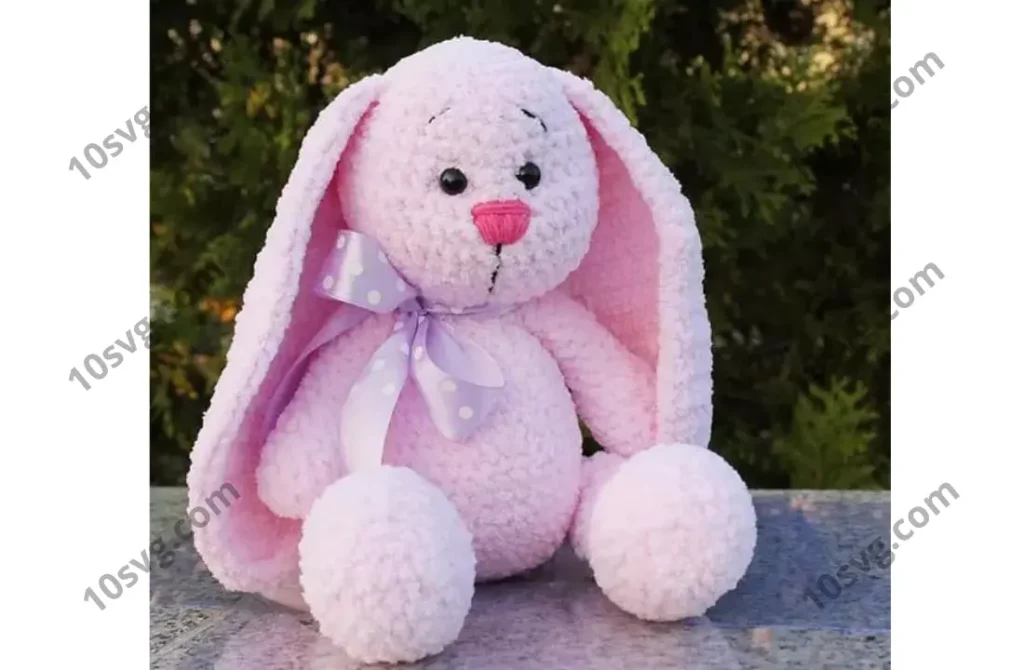
Body
- 6 sc in magic ring (6)
- 6 inc (12)
- (1 sc, inc) x 6 (18)
- (2 sc, inc) x 6 (24)
- (3 sc, inc) x 6 (30)
- (4 sc, inc) x 6 (36)
- (5 sc, inc) x 6 (42)
- (6 sc, inc) x 6 (48)
9-11. 48 sc (3 rows)
At the end of this row, change color to the dress color. - (6 sc, dec) x 6 (42)
13-15. 42 sc (3 rows) - (5 sc, dec) x 6 (36)
17-18. 36 sc - 12 sc, 6 dec, 12 sc (30)
- 30 sc
- 9 sc, 6 dec, 9 sc (24)
- (2 sc, dec) x 6 (18)
- In this row, attach the arms, and at the end of the row, change back to the main color (18)
24-25. 18 sc
Finish: Slip stitch, secure the yarn, and cut it.
Skirt (for Bunny in Dress)
Attach gray yarn at the point where the body color changed. Make 2 ch1.
- Crochet alternating between dc/inc and sl st, finishing with a sl st at the end of the row.
- 2 ch1, alternate dc/inc again.
- 2 ch1, crochet dc in the row.
- 2 ch1, finish the row with dc.
Finish: Secure the yarn and hide the ends. I sewed a pink thread along the seam between the skirt and the body to mimic a belt.
Bow
- Chain 7 + 1 ch1.
- From the second ch from the hook, crochet 7 sc to the end of the row.
- Crochet 3 more rows of sc.
- Don’t forget to make a ch1 at the start of each row.
- Crochet around the bow with sc.
- Secure the yarn.
Assembly: Wrap some yarn in the center of the bow, tighten it, and sew the bow onto the side of the bunny or wherever you prefer.
Legs (Make 2)
- 6 sc in magic ring (6)
- 6 inc (12)
- (1 sc, inc) x 6 (18)
- (2 sc, inc) x 6 (24)
- (3 sc, inc) x 6 (30)
6-7. 30 sc - 9 sc, 6 dec, 9 sc (24)
- 6 sc, 6 dec, 6 sc (18)
- 6 sc, 3 dec, 6 dec (15)
11-22. 15 sc (12 rows)
Assembly: Lightly stuff the legs, especially the top part, to help the bunny sit properly. Fold the legs in half and crochet 1 sc to close them. Leave a tail for attaching the legs to the body.
Ears (Make 2)
Crochet back and forth, making sure to ch1 at the beginning of each row.
- Chain 2 + ch1.
- 2 inc (4)
- 4 inc (8)
- 8 sc
- 1 inc, 6 sc, 1 inc (10)
- 10 sc
- 1 inc, 8 sc, 1 inc (14)
- 12 sc
- 1 inc, 10 sc, 1 inc (14)
- 14 sc
- 1 inc, 12 sc, 1 inc (16)
12-21. 16 sc (10 rows) - 1 dec, 12 sc, 1 dec (14)
23-24. 14 sc - 1 dec, 10 sc, 1 inc (12)
26-27. 12 sc - 1 dec, 8 sc, 1 dec (10)
29-30. 10 sc - 1 dec, 6 sc, 1 dec (8)
32-34. 8 sc (3 rows)
Finish: Crochet around the edge of the ear with sc, leaving a tail for attaching the ears to the head.
Tail
- 6 sc in magic ring (6)
- (1 sc, inc) x 3 (9)
- 9 sc
Leave a tail for attaching. Embroider the eyes and nose as follows:
- Use black thread for the eyes.
- Use pink thread to embroider the nose.
Conclusion
Once all the parts are finished and sewn together, your plush bunny Mia is complete! You can add any additional decorative elements you like, such as ribbons, or adjust the outfit for different styles.