Paws (2 parts):
- 1st round: 6 sc in KA
- Rounds 2-3: 12 sc
- On the third finger, connect all three fingers together:
- 6 sc on the first finger, 6 sc on the second, 12 sc on the third finger, 6 sc on the second, and 6 sc on the first (36)
- Rounds 10-14: 36 sc
- Decrease rounds: (4 sc, dec) x 6 (30), (3 sc, dec) x 6 (24), (2 sc, dec) x 6 (18), (1 sc, dec) x 6 (12), dec x 6 (6)
- Close the hole by pulling the thread through.
Sew the legs to the body after checking the placement.
Wings (2 parts, make identical):
- Cast on 5 chains and from the second chain, crochet 4 sc.
- Increase rounds: Inc, 2 sc, inc (6), inc, 4 sc, inc (8), inc, 6 sc, inc (10), inc, 8 sc, inc (12), inc, 10 sc, inc (14), inc, 12 sc, inc (16)
- Rounds 8-17: 10 rows of 16
- Decrease rounds: dec, 12 sc, dec (14), dec, 10 sc, dec (12), dec, 8 sc, dec (10)
Embroider feathers on one part of the wings, and then join both parts with single crochet stitches along the edge. Attach to the body.
Tail:
- 1st round: 6 sc in KA
- 2nd round: Inc x 6 (12)
- Rounds 3-5: 12 sc
- Join two parts together for a total of 24 sc
- Decrease rounds: (2 sc, dec) x 6 (18), (1 sc, dec) x 6 (12), dec x 6 (6)
Finish by pulling the hole closed.
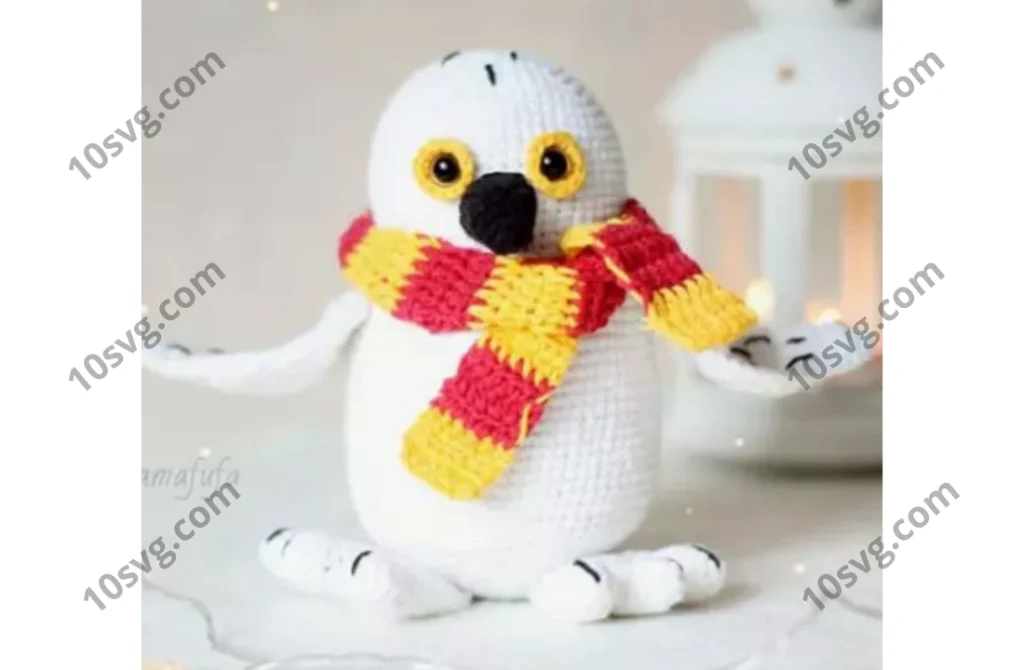
Scarf (Gryffindor style):
- Work in turning rows, changing colors every three rows. Embroider feathers on top for decoration.
Final Assembly:
- Sew the eyes to the head, adjust the position to your liking.
- Attach the beak to the front of the owl’s face.
- Sew the wings to the sides of the body.
- Attach the paws and legs to the bottom of the body.
- Sew the tail at the back of the owl.
- Add the scarf for a finishing touch, ensuring it’s snug and ties the theme together.
Conclusion:
Your amigurumi owl is now complete! Feel free to share your finished creation on Instagram or Facebook and tag @freeamigurumii. Enjoy your new handmade owl! 
Pages: 1 2