Head
Using body-colored yarn:
- Round 1: 6 sc in the magic ring (6)
- Round 2: inc x 6 (12)
- Round 3: (sc, inc) x 6 (18)
- Round 4: (2 sc, inc) x 6 (24)
- Round 5: (3 sc, inc) x 6 (30)
- Round 6: (4 sc, inc) x 6 (36)
7-11. 36 sc (5 rounds) - Round 12: (4 sc, dec) x 6 (30)
- Round 13: (3 sc, dec) x 6 (24)
- Round 14: (2 sc, dec) x 6 (18)
- Round 15: (sc, dec) x 6 (12)
- Add stuffing.
- Round 16: (dec) x 6 (6)
Pull the yarn tight to close. Cut the yarn, leaving a tail for sewing.
Ears (Make 2)
- 8 sc in the magic ring (8)
- Cut the yarn, leaving a tail for sewing.
Nose
Using white yarn:
- Round 1: 6 sc in the magic ring (6)
- Round 2: inc x 6 (12)
- 12 sc
Cut the yarn, leaving a tail for sewing.
Finishing the Head
- Attach the ears 3-4 rounds below the crown of the head.
- Add a little stuffing to the white nose and sew it slightly below the center of the face.
- Use embroidery thread to stitch a line from the plastic nose (or embroider it if you don’t have a plastic nose).
- Mark the positions for the eyes at the top edges of the white nose. Make indentations at these points.
- Use pastel to tint the eye area and attach the half beads for the eyes.
- Use embroidery thread to stitch the eyebrows above the eyes.
Assembling the Toy
- Sew the upper and lower paws to the body.
- Attach the head to the body.
- Decorate with a satin ribbon.
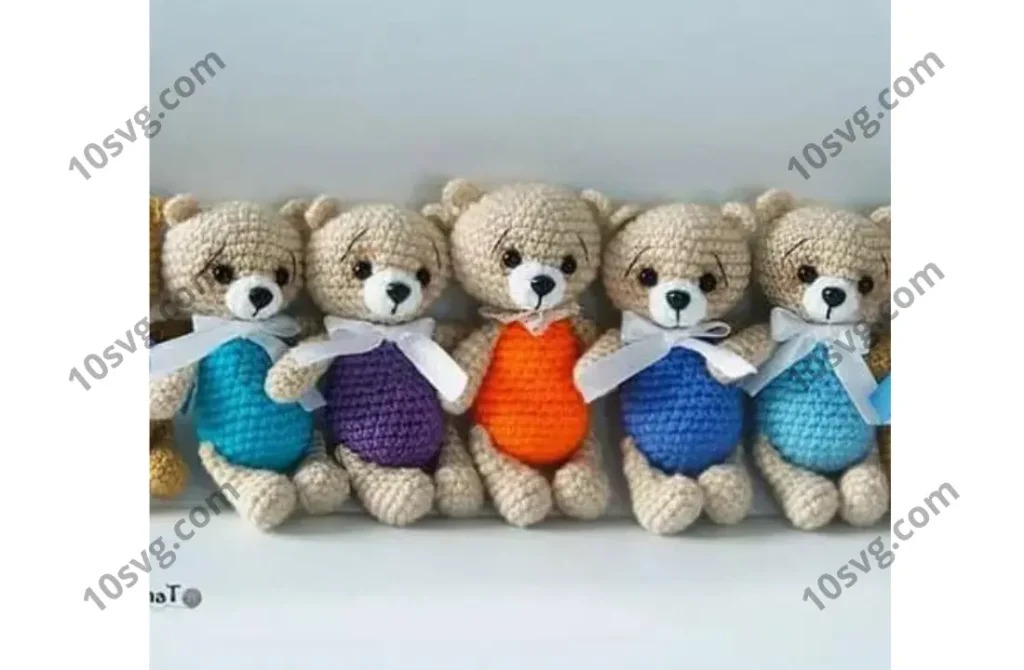
Your miniature bear is now ready!
Enjoy creating your little bear, and don’t forget to share your finished work with the community! You can tag @ksуschаt on social media and show off your adorable creation!
Pages: 1 2

