Arms (Make 2)
Rnd 1. 5 sc in MR (5)
Rnd 2. 5 inc (10)
Rnd 3. 2 rows of 10 sc (10)
Add stuffing to the arms, to make this easier I usually add stuffing during the assembly. I sew where I want the arms to be and then stuff them as I sew.
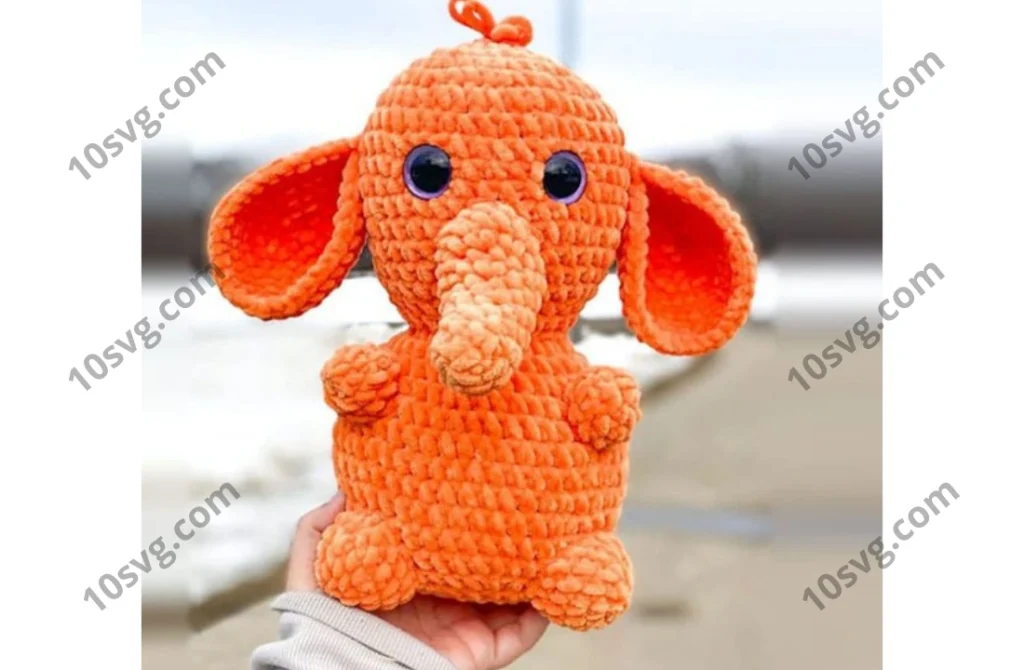
Trunk
Rnd 1. 5 sc in MR (5)
Rnd 2. inc, 1sc, inc, 1sc, inc (8)
Rnd 3. 2 rows of 8 sc (8)
Rnd 4. 7sc, inc (9)
Rnd 5. 1 row of 9 sc (9)
Rnd 6. 8 sc, inc (10)
Rnd 7. 8 sc, inc (12)
Rnd 8. 1 row of 12 sc (12)
Rnd 9. 9 sc, inc, inc, inc (15)
Rnd 10. 2 rows of 15 sc (15)
Stuffing the trunk firmly.
Ears (Make 2)
Rnd 1. 6 sc in MR
Rnd 2. 6 inc (12)
Rnd 3. (1sc, inc)*6 (18)
Rnd 4. (2sc, inc)*6 (24)
Rnd 5. (3sc, inc)*6 (30)
Rnd 6. (4sc, inc)*6 (36)
Rnd 7. 1 row of 36 sc (36)
Fold ear in half, line both halves up and sew across 3 stitches. Close off and leave a yarn tail for sewing.
Assembly
- Ears are sewn on the side of the head, between rows 5 and 6 from the magic ring.
- Trunk is sewn 1 row down from the eyes, covering 5 rows going down.
- Legs are sewn starting between rows 3 and 4 from where you closed the magic ring on the bottom and cover 4 rows.
- Arms are sewn on the side of the body, slightly more towards the front of the body.
- Cut off a few strands of yarn and attach them to the row right in front of the magic ring. Trim the yarn to desired length for the elephant’s hair.
- You can add a tail, to do this just attach yarn to the butt the same way you did the hair. Braid the tail together, tie the braid at the end and leave little fringe at the end.
Feel free to tag me (@freeamigurumii) in your photos on Instagram or Facebook if you’d like!
All Finished.