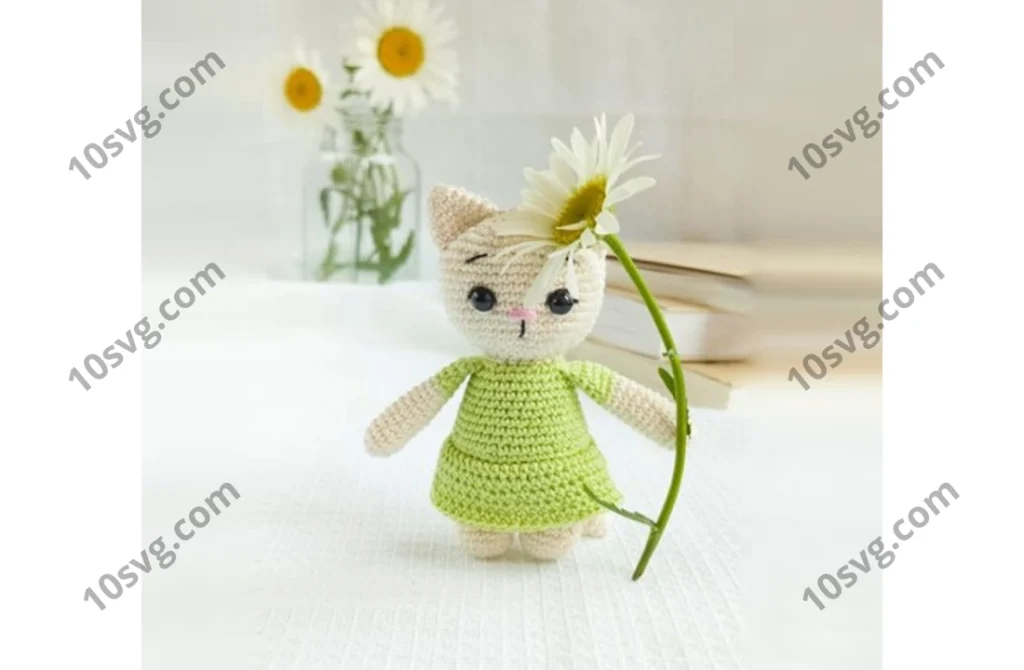
Legs and Body
Start crocheting in light beige. Stuff the legs and body tightly as you crochet. Crochet the first leg first.
- Rnd 1: 6 sc in MR
- Rnd 2: 6 inc (12 sc)
- Rnd 3: (1 sc, inc) *6 (18 sc)
- Rnd 4-6: 18 sc (3 rows)
- Rnd 7: (1 sc, dec) *6 (12 sc)
- Rnd 8: 12 sc
Crochet another 5 sc, sl st. Finish crocheting, fasten the thread, and cut.
Tie the second leg in the same way as the first, do not cut the thread, and continue to crochet the body.
- Rnd 9: Crochet 6 sc on the second leg, cast on a chain of 3 ch, and attach it to the first leg where you finished crocheting (into the loop following the sl st). Crochet 12 sc on the first leg, 3 sc on the chain, and 6 sc on the second leg (30 sc).
- Rnd 10: (4 sc, inc) *6 (36 sc)
- Rnd 11: 36 sc
- Rnd 12: (5 sc, inc) *6 (42 sc)
- Rnd 13: 42 sc
- Rnd 14: 30 sc, 3 sc (ponytail), 9 sc (42 sc)
- Rnd 15: 42 sc
- Change to yellow yarn, cut off the light beige thread.
- Rnd 16: 42 sc
- Rnd 17: Behind the back wall of the loop, 42 sc
- Rnd 18: (5 sc, dec) *6 (36 sc)
- Rnd 19-21: 36 sc (3 rows)
- Rnd 22: (4 sc, dec) *6 (30 sc)
- Rnd 23-25: 30 sc (3 rows)
- In the next row, crochet the arms symmetrically on the sides of the body.
- Rnd 26: 6 sc (arms), 9 sc, 6 sc (arms), 9 sc (30 sc)
- Rnd 27: (3 sc, dec) *6 (24 sc)
- Change to light beige yarn, cut the yellow thread.
- Rnd 28: (2 sc, dec) *6 (18 sc)
- Rnd 29: 18 sc
- The body is ready. Do not cut the thread, continue to crochet the head.
Head
Stuff the head tightly as you crochet.
- Rnd 30: inc in every loop (36 sc)
- Rnd 31: (5 sc, inc) *6 (42 sc)
- Rnd 32: 3 sc, inc, (6 sc, inc) *5, 3 sc (48 sc)
- Rnd 33-42: 48 sc (10 rows)
- Rnd 43: 3 sc, dec, (6 sc, dec) *5, 3 sc (42 sc)
- Rnd 44: (5 sc, dec) *6 (36 sc)
- Rnd 45: 2 sc, dec, (4 sc, dec) *5, 2 sc (30 sc)
- Rnd 46: (3 sc, dec) *6 (24 sc)
- Rnd 47: 1 sc, dec, (2 sc, dec) *5, 1 sc (18 sc)
- Rnd 48: (1 sc, dec) *6 (12 sc)
Fasten the thread and cut, leaving a long end. Pull the remaining hole closed and hide the thread inside the head.
Skirt
Attach the yellow thread and crochet for the front half loops of the 17th row.
- Rnd 1: 2 ch, (6 hdc, inc from hdc) *6, sl st (48 hdc)
- Rnd 2-5: 2 ch, 48 hdc, sl st (48 hdc)
Fasten the thread, cut it off, and hide the tip of the thread.
Design and Assembly
- Sew the ears on between rows 2 and 10, ensuring they are symmetrically placed.
- Make the muzzle. Tighten at points 1-4 (see photo).
- Mark the locations for the eyes (points 1 and 2) between rows 36 and 37 of the head. The distance between points 1 and 2 is 7 sc.
- Mark points 3 and 4, which are 1 sc to the side of points 1 and 2.
- Insert a long needle with thread into the base of the head (opposite side of the muzzle) and bring it out at point 1. Insert the needle into point 3 and bring it out at the base of the head. Tighten the thread.
- Repeat for the second eye, bringing the needle out at point 2 and inserting it into point 4. Tighten and tie a knot. Hide the knot inside the part.
- Glue the eyes where the tightening is. Embroider small stitches under the eyes with white thread.
- Embroider the upper eyelids and brows with black thread.
- Embroider a pink nose between rows 35 and 36 with horizontal stitches.
All Finished!
Feel free to tag me (@freeamigurumii) in your photos on Instagram or Facebook if you’d like!