Arms (Make 2, Begin with Brown Yarn):
- Rnd 1: Sc 6 into magic ring. [6]
- Rnd 2-7: Sc around. [6] (6 rounds)
- Finish off and leave a long enough tail to attach.
Smaller Part of Arms (Make 2, Begin with Brown Yarn):
- Rnd 1: Sc 6 into magic ring. [6]
- Rnd 2-3: Sc around. [6] (2 rounds)
- Finish off and leave a long enough tail to attach.
- Sew the smaller parts to the larger parts of the arms once completed.
Earmuffs (Make 2):
- Begin with Red Yarn:
- Rnd 1: Sc 6 into magic ring. [6]
- Rnd 2: [Inc] around. [12]
- Rnd 3: [Sc, Inc] around. [18]
- Rnd 4: Switch to Black Yarn, Sc around. [18]
- Rnd 5: Switch to White Yarn, Sc around. [18]
- Finish off and leave a tail for sewing.
Earmuff Band (Begin with Red Yarn):
- Rnd 1: Sc 6 into magic ring. [6]
- Rnd 2-18: Sc around. [6] (17 rounds)
- Finish off and leave a tail for sewing.
Assembly of Earmuffs:
- Attach the muff parts to each side of the head.
- Sew the band to both sides of the head after the muff parts are sewn on.
Scarf (Begin with Red Yarn):
- Ch 65.
- Rnd 1: Sc into second chain from hook, sc across. [64]
- Rnd 2: Switch to Black Yarn, Ch 1, turn, Sc into first stitch, sc across. [64]
- Rnd 3: Switch to White Yarn, Ch 1, turn, Sc into first stitch, sc across.
- Finish off.
Assembly:
- Sew the nose (carrot) onto the face of the snowman.
- Attach the arms to the body.
- Sew the earmuffs on each side of the head.
- Wrap the scarf around the snowman’s neck and sew it in place.
- Embroider or sew buttons on the body if you wish.
Final Touches:
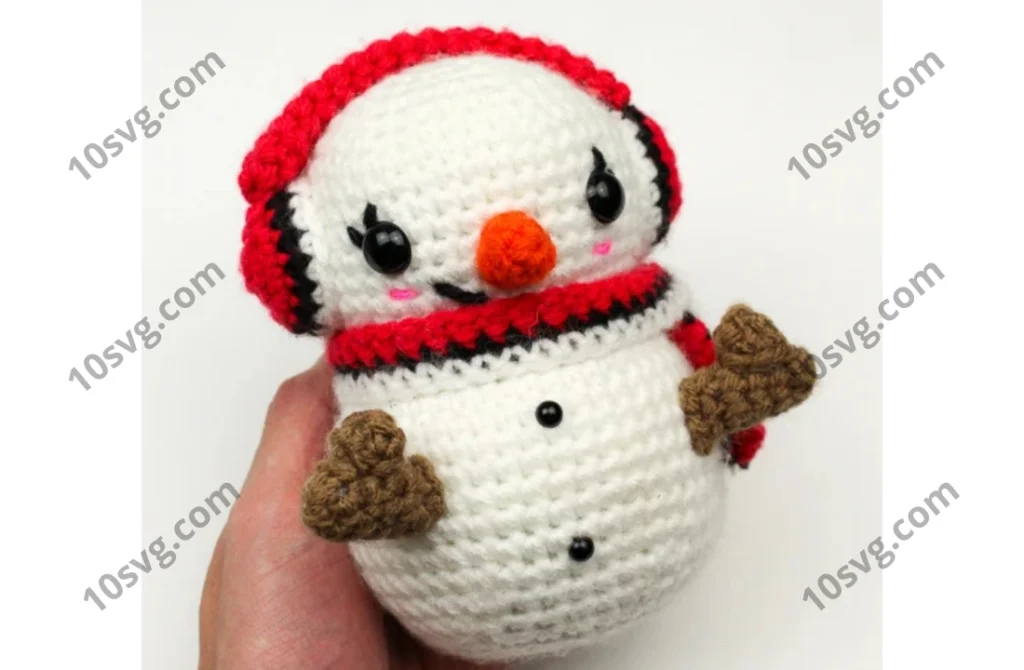
Your Casper the Snowman is now complete! You can customize the pattern by adding different accessories, like a hat or additional decorations. Enjoy your cute little snowman that’s perfect for winter holidays or as a cozy handmade gift!
Pages: 1 2