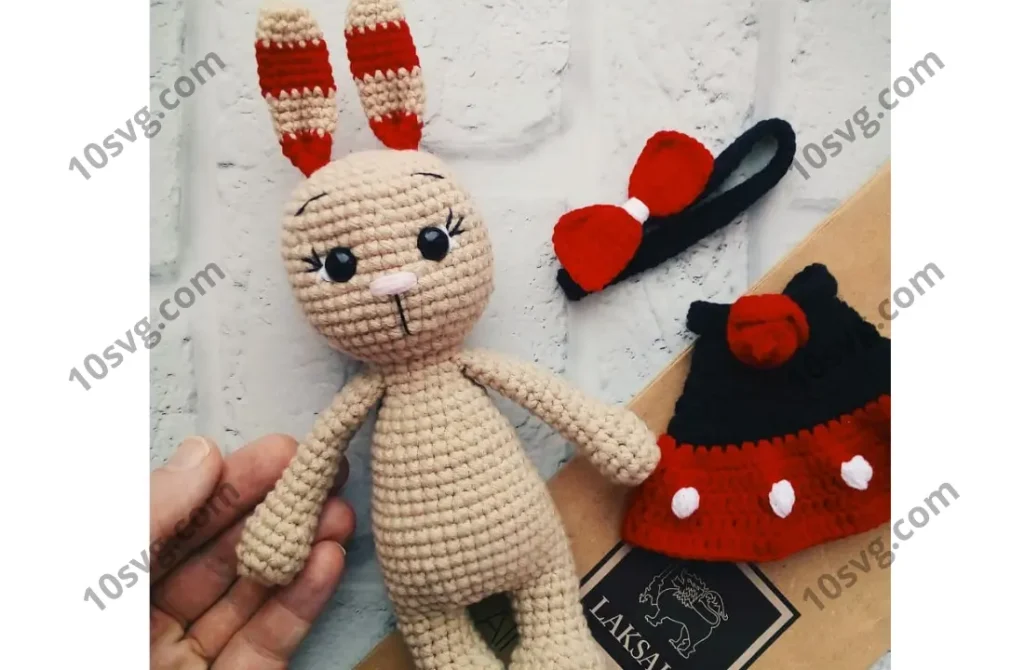
Joining Legs and Continuing the Body
- (4 sc) now make 3 ch, then join the first leg symmetrically to the second: 12 sc over the first leg, 3 ch along one side of the chain, 12 sc over the second leg, 3 sc along the second side of the chain (30)
- Start counting the rounds from the 3 ch between the legs (the middle stitch of the chain is the start of the row).
- 14 sc, 3 pr, 13 sc (33)
- 15 sc, (pr, 1 sc) *3, 13 sc (36)
14-21. 36 sc (7 rows) - (4 sc, ub) *6 (30)
23-26. 30 sc (4 rows) - (3 sc, ub) *6 (24)
28-29. 24 sc (2 rows) - (2 sc, ub) *6 (18)
- 18 sc
In row 32, we will crochet the arms.
Adding the Arms
- 4 sc, now crochet one arm through both loops, 4 sc together with one arm, 5 sc, 4 sc with the second arm, 1 sc (18)
- If the stitch count doesn’t match the pattern, adjust so the arms are positioned on the sides.
Head (Continue Crochet)
34-35. 18 sc (2 rows)
- 1 pr in every stitch (36)
- 36 sc
- (5 sc, pr) *6 (42)
39-45. 42 sc (7 rows) - (5 sc, ub) *6 (36)
47-48. 36 sc (2 rows) - (4 sc, ub) *6 (30)
- (3 sc, ub) *6 (24)
- (2 sc, ub) *6 (18)
- (1 sc, ub) *6 (12)
Cut the yarn. Stuff the head well and sew up the opening.
Face Details and Assembly
- Eyes: Insert the eyes between rows 43 and 44, approximately 7-8 stitches apart. Position the eyes in the center of the face.
- Eyebrows, Eyelashes, and Glints: You can embroider the eyebrows, eyelashes, and glints on the eyes using white thread.
- Nose: Embroider the nose with pink thread. You can also create a little indent for the eyes if you prefer.
- Ears: Attach the ears to the top of the head.
Congratulations! Your Bunny Busiya is Ready!
Pages: 1 2