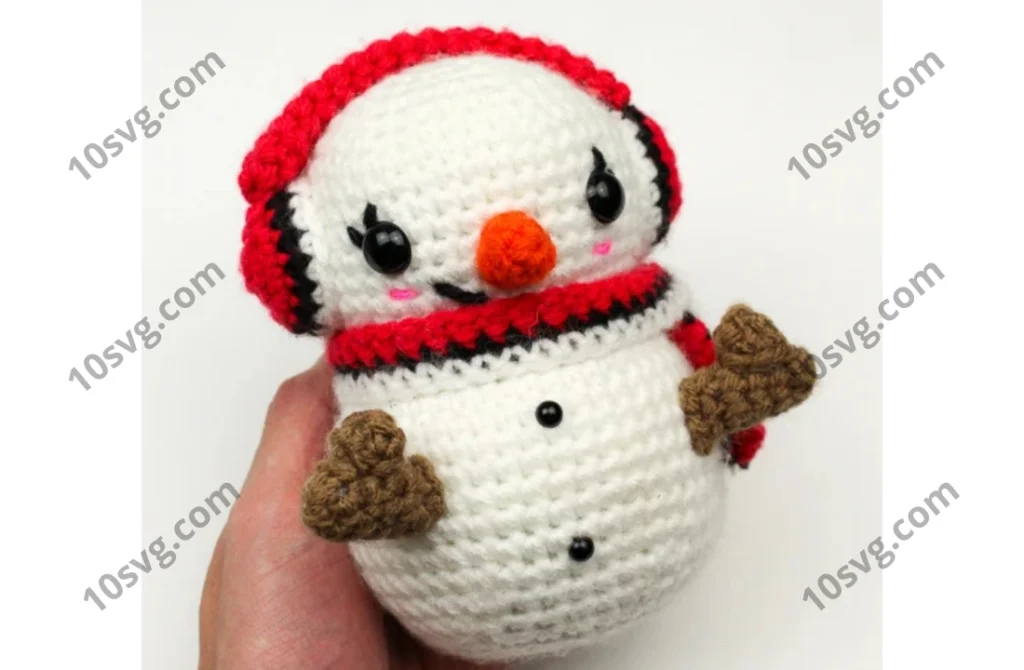
Amigurumi Casper The Snowman Free Pattern
Create your very own adorable snowman with this fun and simple amigurumi pattern for Casper The Snowman. This charming snowman is made with basic crochet techniques, and the finished product will stand at around 5.5 inches tall. You can customize the design with different yarn colors and add your own touch to the details. Here’s how to make this cute winter friend!
Materials:
- US 4 mm crochet hook
- Yarn:
- Brown Yarn
- White Yarn
- Beige Yarn
- Dark brown or black Yarn
- Red Yarn
- Pink Yarn
- Fiberfill for stuffing
- Yarn Needle (for sewing pieces together)
- Stitch Marker (optional)
- Two 12mm safety eyes (for the snowman’s eyes)
- Two 6mm safety eyes (optional for buttons on the body, or you can embroider them)
Abbreviations:
- Ch – Chain
- St – Stitch
- Sc – Single crochet
- Inc – Increase (2 sc in the same space)
- Dec – Decrease (single crochet 2 together)
Head/Body (Begin with White Yarn):
- Rnd 1: 6 sc in Magic Ring. [6]
- Rnd 2: [Inc] x 6. [12]
- Rnd 3: [Sc, Inc] around. [18]
- Rnd 4: [Sc 2, Inc] around. [24]
- Rnd 5: [Sc 3, Inc] around. [30]
- Rnd 6: [Sc 4, Inc] around. [36]
- Rnd 7: [Sc 5, Inc] around. [42]
- Rnd 8-14: Sc around. [42] (7 rounds)
- Place eyes in round 11, 8 stitches apart. (Or place them where you feel they will look best)
- Rnd 15: [Sc 5, Dec] around. [36]
- Rnd 16: [Sc 4, Dec] around. [30]
- Rnd 17: [Sc 3, Dec] around. [24]
- Rnd 18: [Inc] around in Front Loop only. [48]
- Rnd 19-26: Sc around. [48] (8 rounds)
- Rnd 27: [Sc 6, Dec] around. [42]
- Rnd 28: [Sc 5, Dec] around. [36]
- Begin stuffing head firmly.
- Rnd 29: [Sc 4, Dec] around. [30]
- Rnd 30: [Sc 3, Dec] around. [24]
- Rnd 31: [Sc 2, Dec] around. [18]
- Rnd 32: [Sc, Dec] around. [12]
- Finish off, leave tail to close the hole.
Carrot Nose (Begin with Orange Yarn):
- Rnd 1: Sc 3 into magic ring. [3]
- Rnd 2: [Inc] around. [6]
- Rnd 3: Sc around. [6]
- Finish off and leave a tail for sewing.
Pages: 1 2