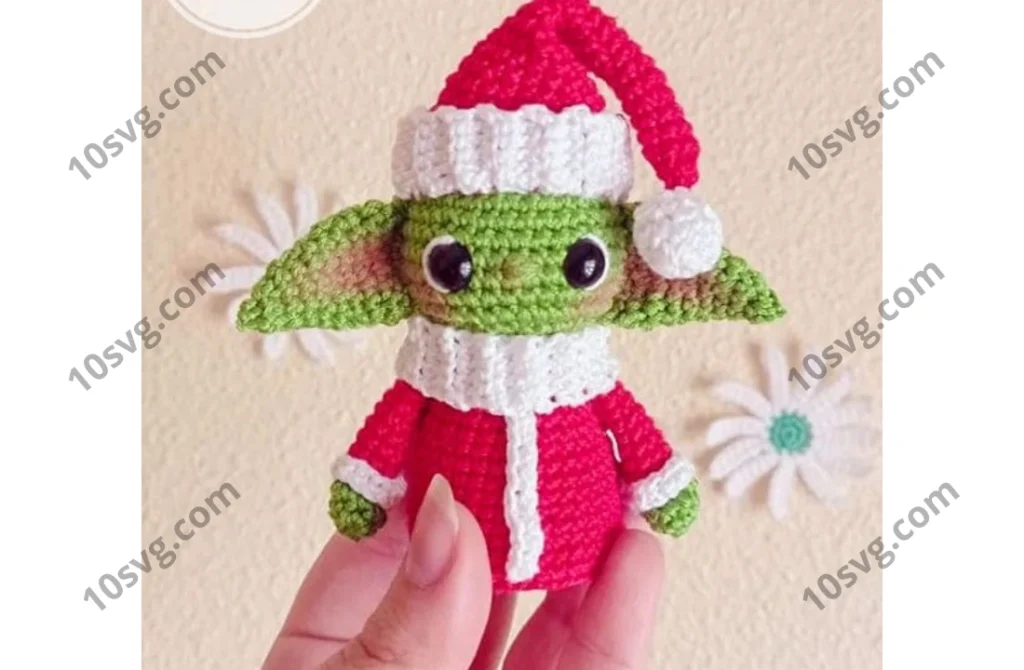
Free Amigurumi Pattern: Cute Doll
Hello, amigurumi lovers and beautiful visitors! I am excited to share a free amigurumi pattern with you. In this article, I will show you how to create a cute doll, and at the end, you will find the detailed construction patterns for each part of the mold.
Abbreviations
- MR – Magic Ring
- sc – Single Crochet
- slst – Slip Stitch
- inc – Increase
- dec – Decrease
- ch – Chain
- st(s) – Stitch(es)
- BLO – Back Loop Only
- Rnd – Round
Materials
- Thread colors: Green, Red, and White
- Safety eyes (10mm)
- Synthetic cotton
- Point markers
- Crochet hook (size 2.2mm)
- Liquid silicone (optional)
- Small piece of cardboard (for body base)
Example of Closed Stitching
This example uses a thread color different from the fabric to make it more visible. It demonstrates how to close the fabric, especially for the ears and hat.
- Using a needle, take one thread at a time from the fabric’s outer edge.
- Pull the thread until the fabric closes, forming a magic ring.
- Insert the needle through the center of the fabric (magic ring) and hide the thread.
Head (Green Thread)
- Rnd 1: MR x 8st
- Rnd 2: inc x 8 (16st)
- Rnd 3: (1sc, 1 inc) x 8 (24st)
- Rnd 4: (24st)
- Rnd 5: (1sc, 1 inc) x 12 (36st)
- Rnd 6-12: (36st)
- Insert the eyes on row 9, 6 stitches apart.
- Rnd 13: (2sc, 1 dec) x 9 (27st)
- Rnd 14: (2sc, 1 dec) x 6, 1sc, 1 dec (20st)
- Rnd 15: (1sc, 1 dec) x 6, 2sc (14st)
- Fill with cotton.
- Rnd 16: dec x 7 (7st)
- Fasten off.
Ears (Make 2) (Green Thread)
- Leave a long thread when starting to weave for sewing.
- Rnd 1: ch x 16st.
- Join the other end with a sc, place a stitch marker.
- Rnd 2-3: (16st)
- Rnd 4: (2sc, 1 dec) x 4 (12st)
- Rnd 5-6: (12st)
- Rnd 7: (2sc, 1 dec) x 3 (9st)
- Rnd 8-9: (9st)
- Rnd 10: dec x 4, 1sc (5st)
- Fasten off.
- Sew between rows 6-12 on the head.
Pages: 1 2